Getting Started on CyVerse
CyVerse provides cloud computing for running the project notebooks without needing a powerful local machine. This guide walks through everything you need to get up and running.
Overview
Each CyVerse session runs in a fresh container. Here is what persists between sessions and what does not:
| Persists? | |
|---|---|
Files in /home/jovyan/data-store/ |
Yes — this is your permanent storage |
| Cloned repositories (if saved to data-store) | Yes |
Conda environments (installed to /opt/conda/envs/) |
No — must be recreated each session |
| Jupyter kernel registrations | No — must be re-registered each session |
| GitHub SSH credentials | No — must be recreated each session |
The setup steps below take about 5–10 minutes and must be repeated at the start of each new CyVerse analysis.
Prerequisites
Before your first session, make sure you have:
- CyVerse account — user.cyverse.org
- GitHub account — github.com
- NASA Earthdata account — urs.earthdata.nasa.gov (required for
earthaccessto download HLS and EMIT data)
Step 1: Log in to CyVerse
- Go to user.cyverse.org
- Click
Sign upif you do not already have an account.
- Head to the CyVerse Discovery Environment at de.cyverse.org and log in.
You should see the Discovery Environment dashboard:
Step 2: Launch JupyterLab
-
From the Discovery Environment, click
Appsin the left menu.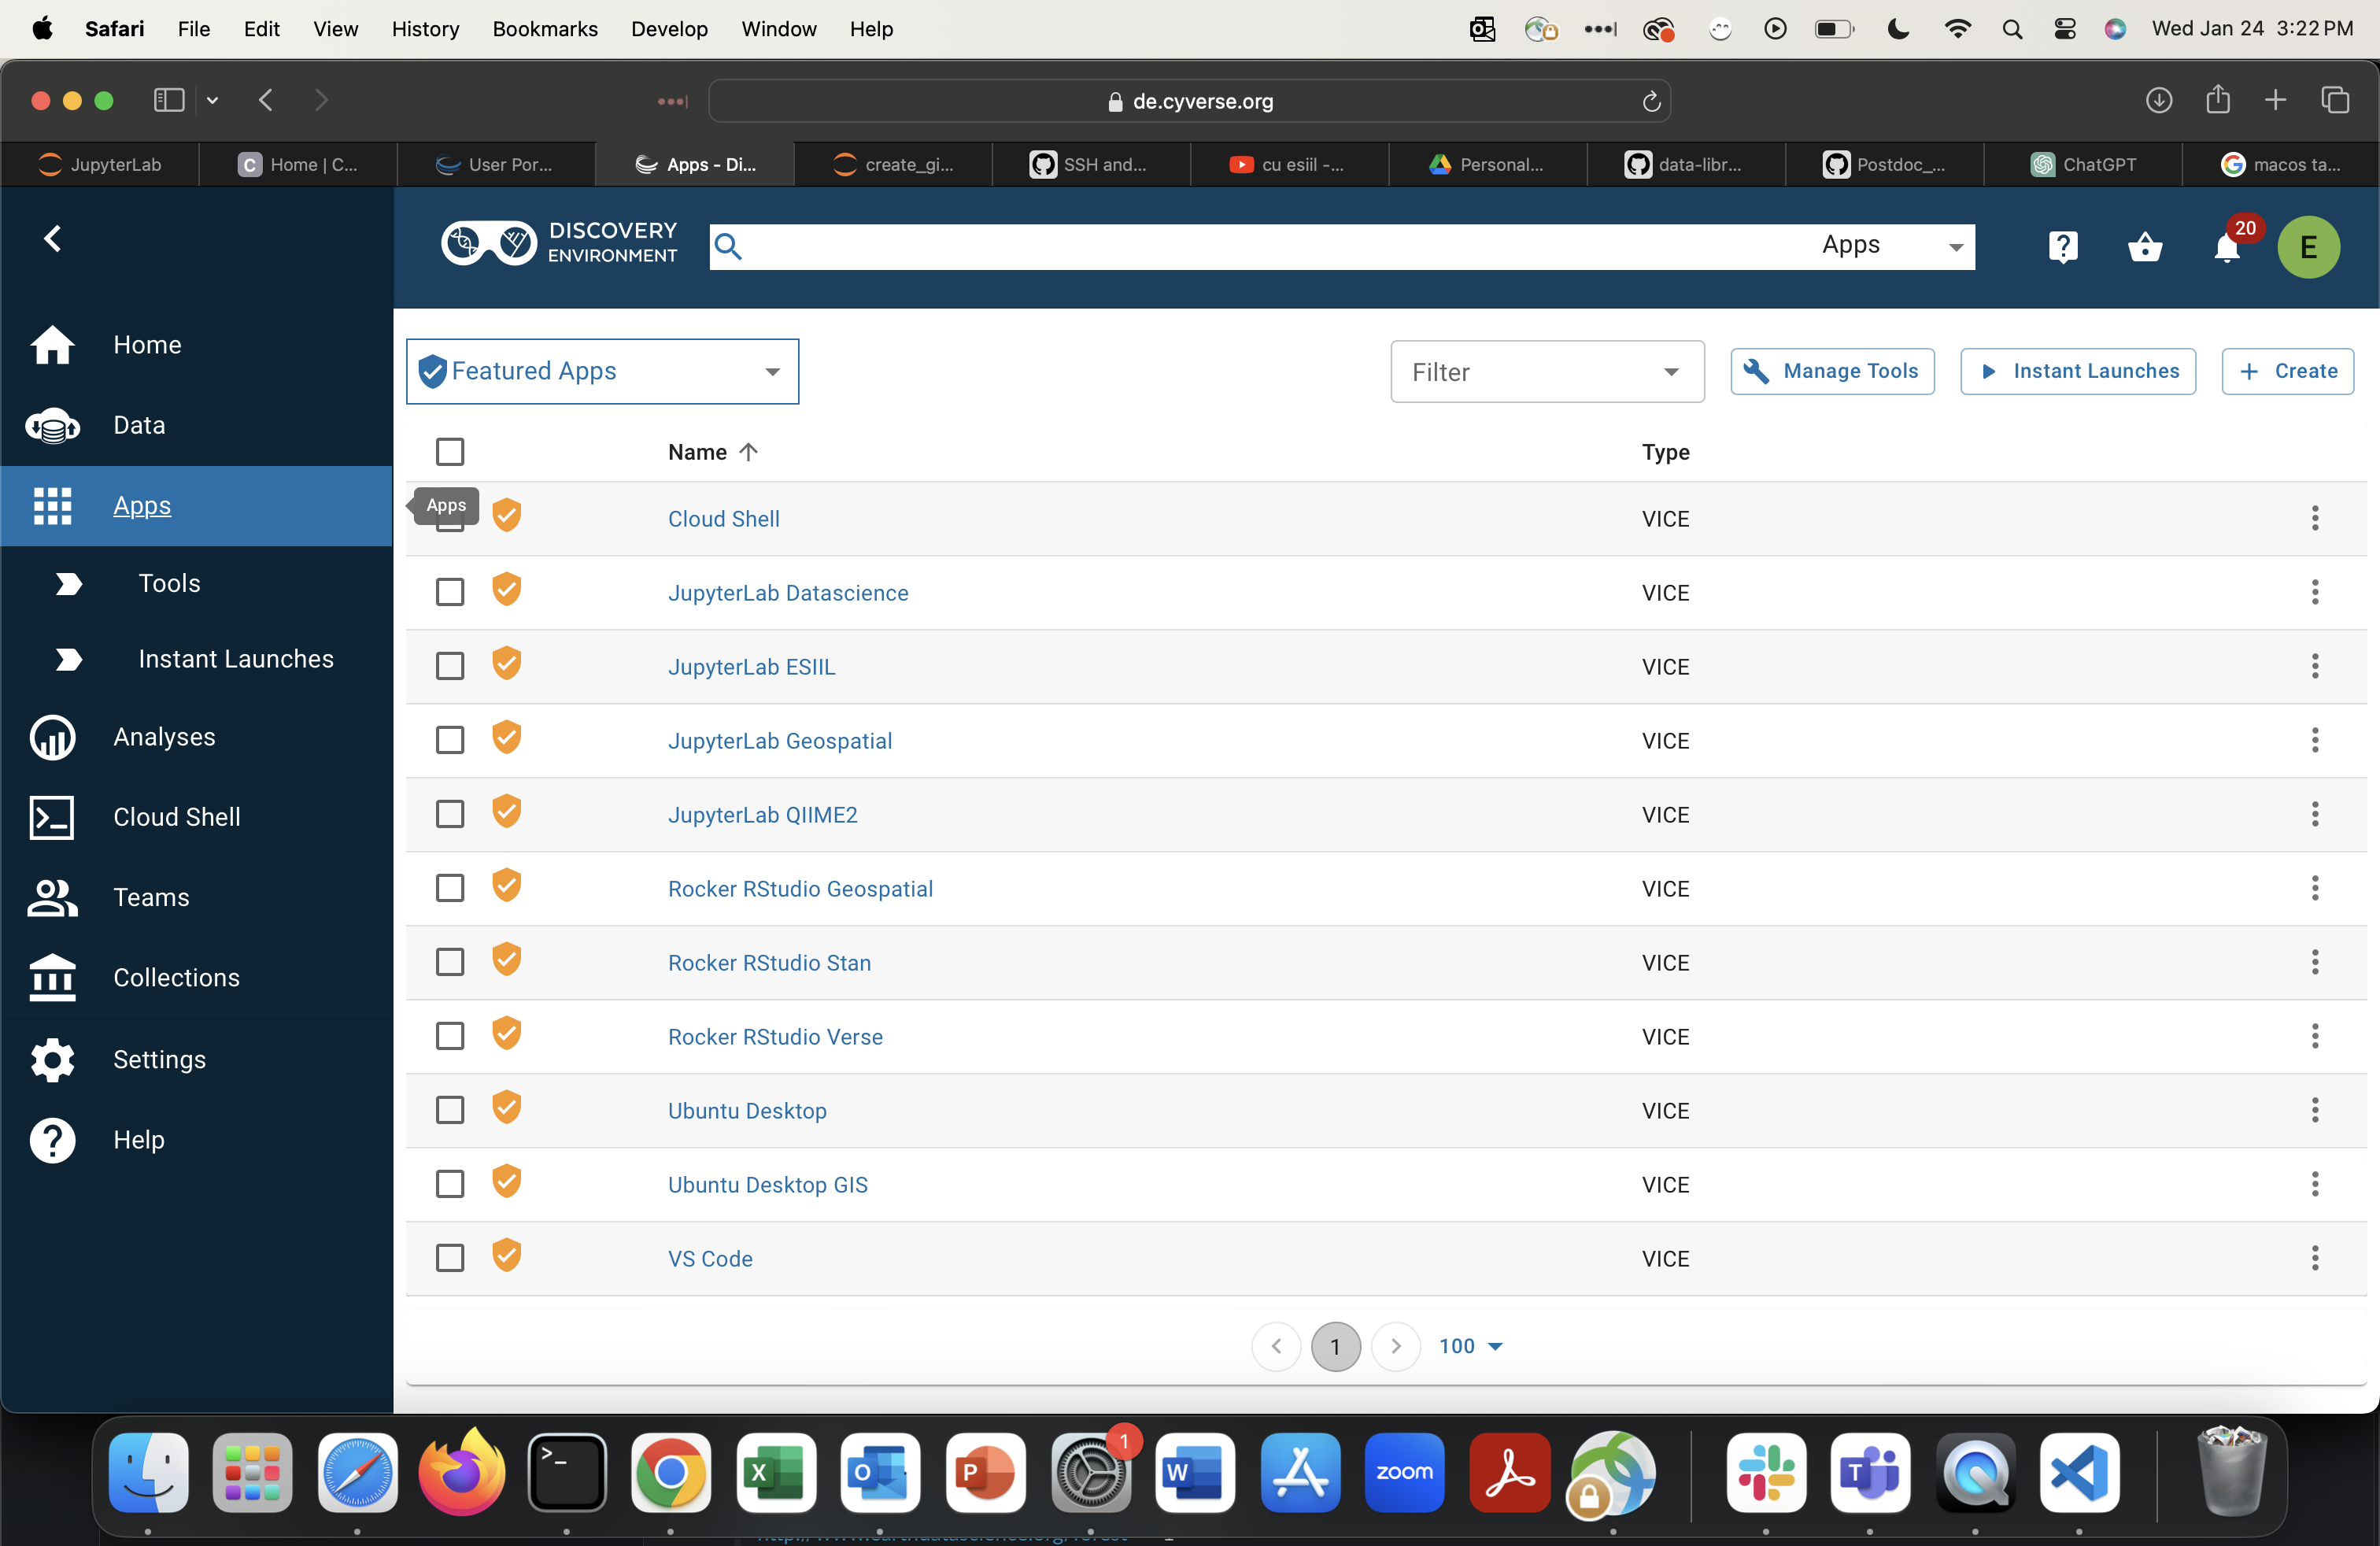
-
Select
JupyterLab ESIIL.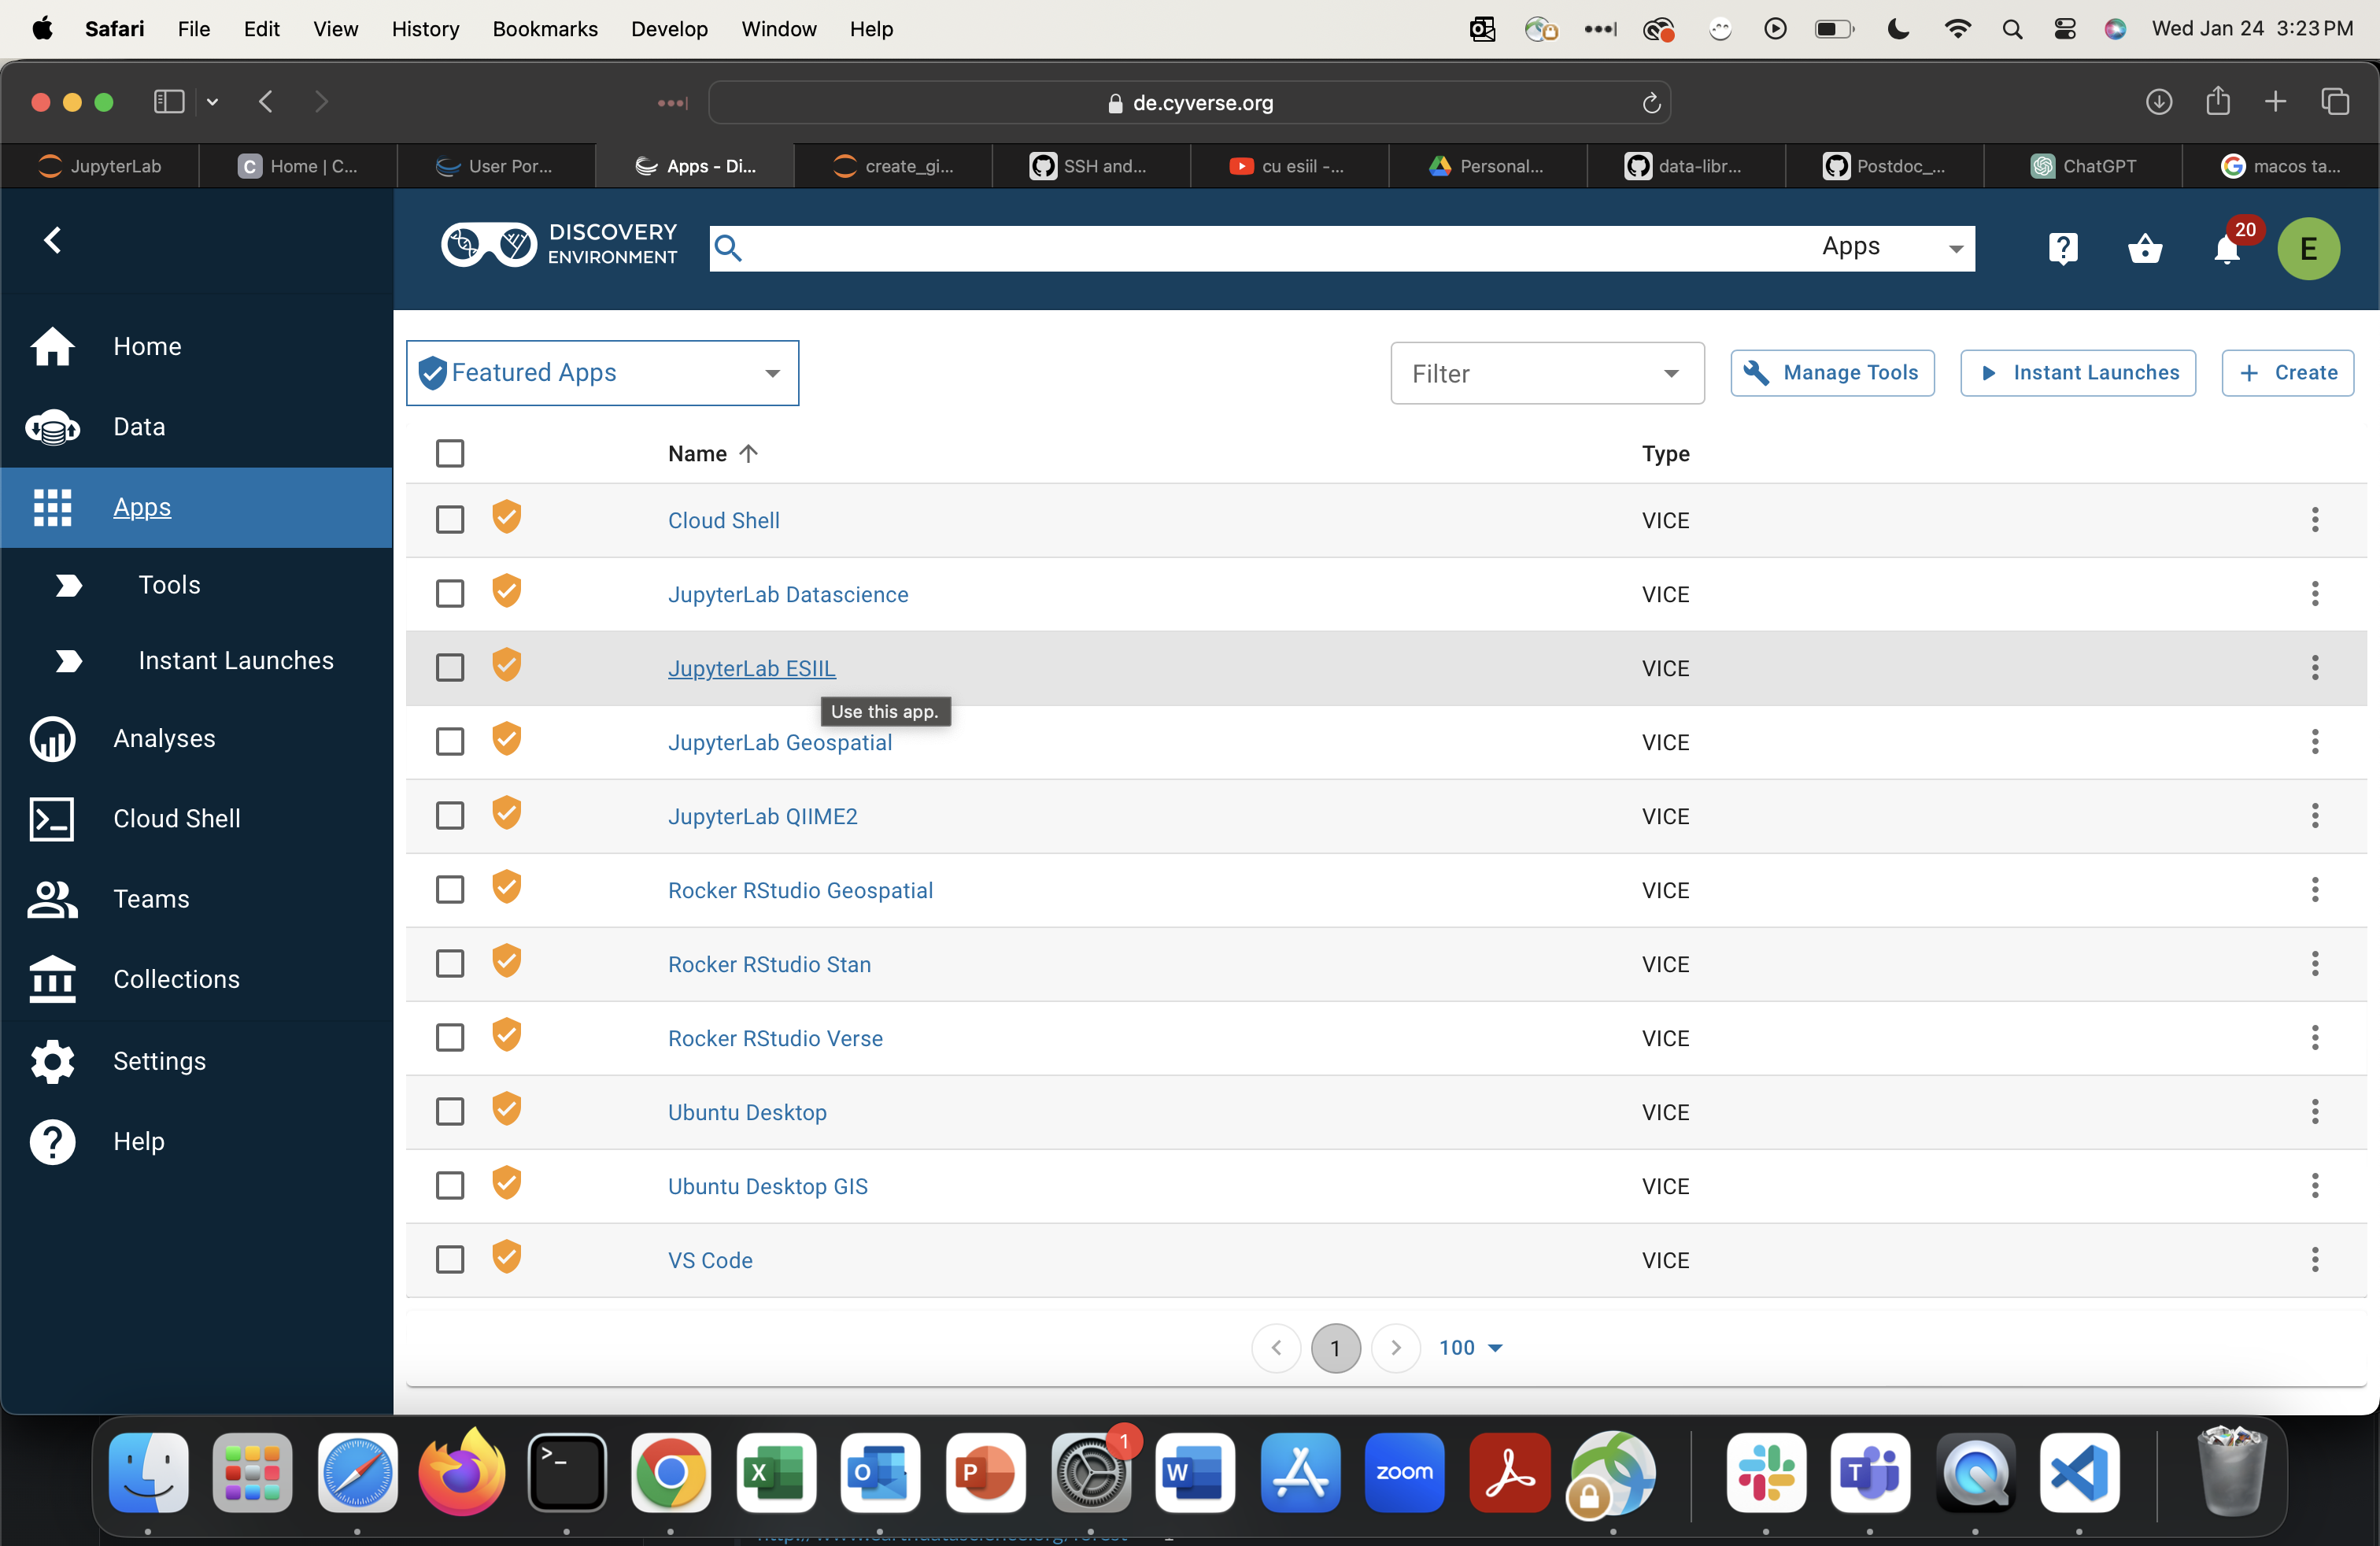
-
Configure your analysis. Set disk size to 64 GB or greater. Adjust CPU/memory as needed.
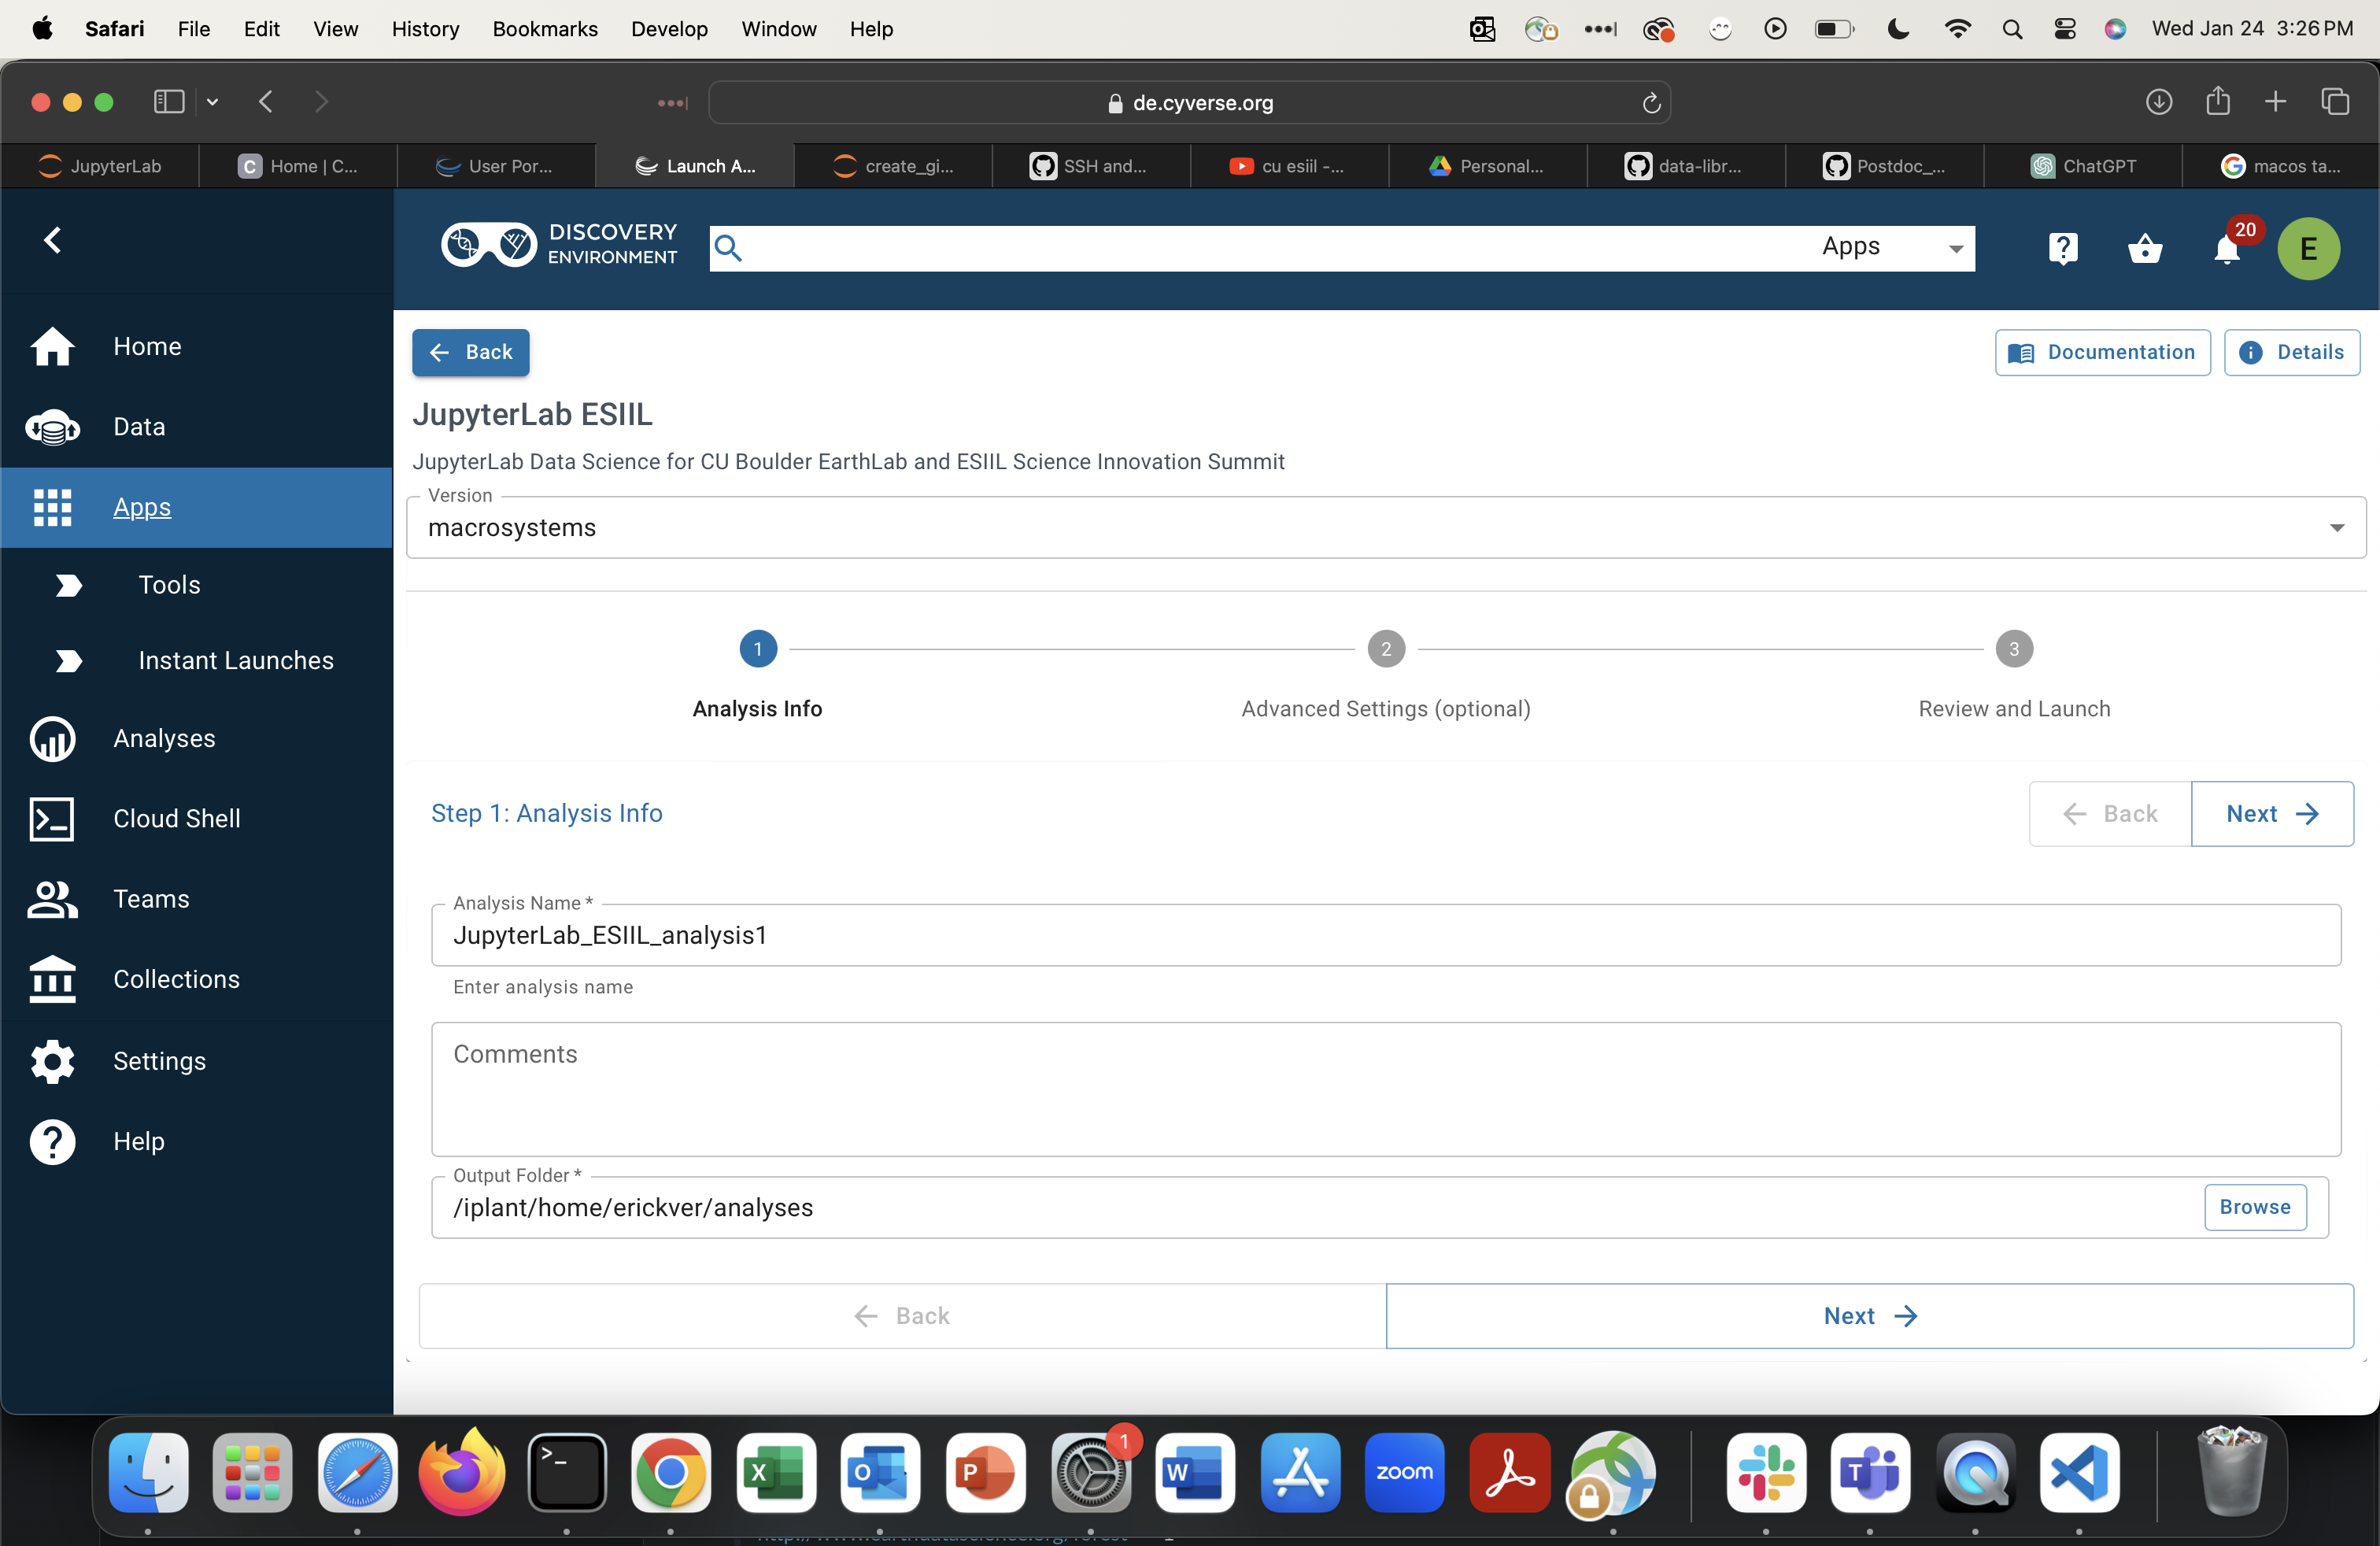

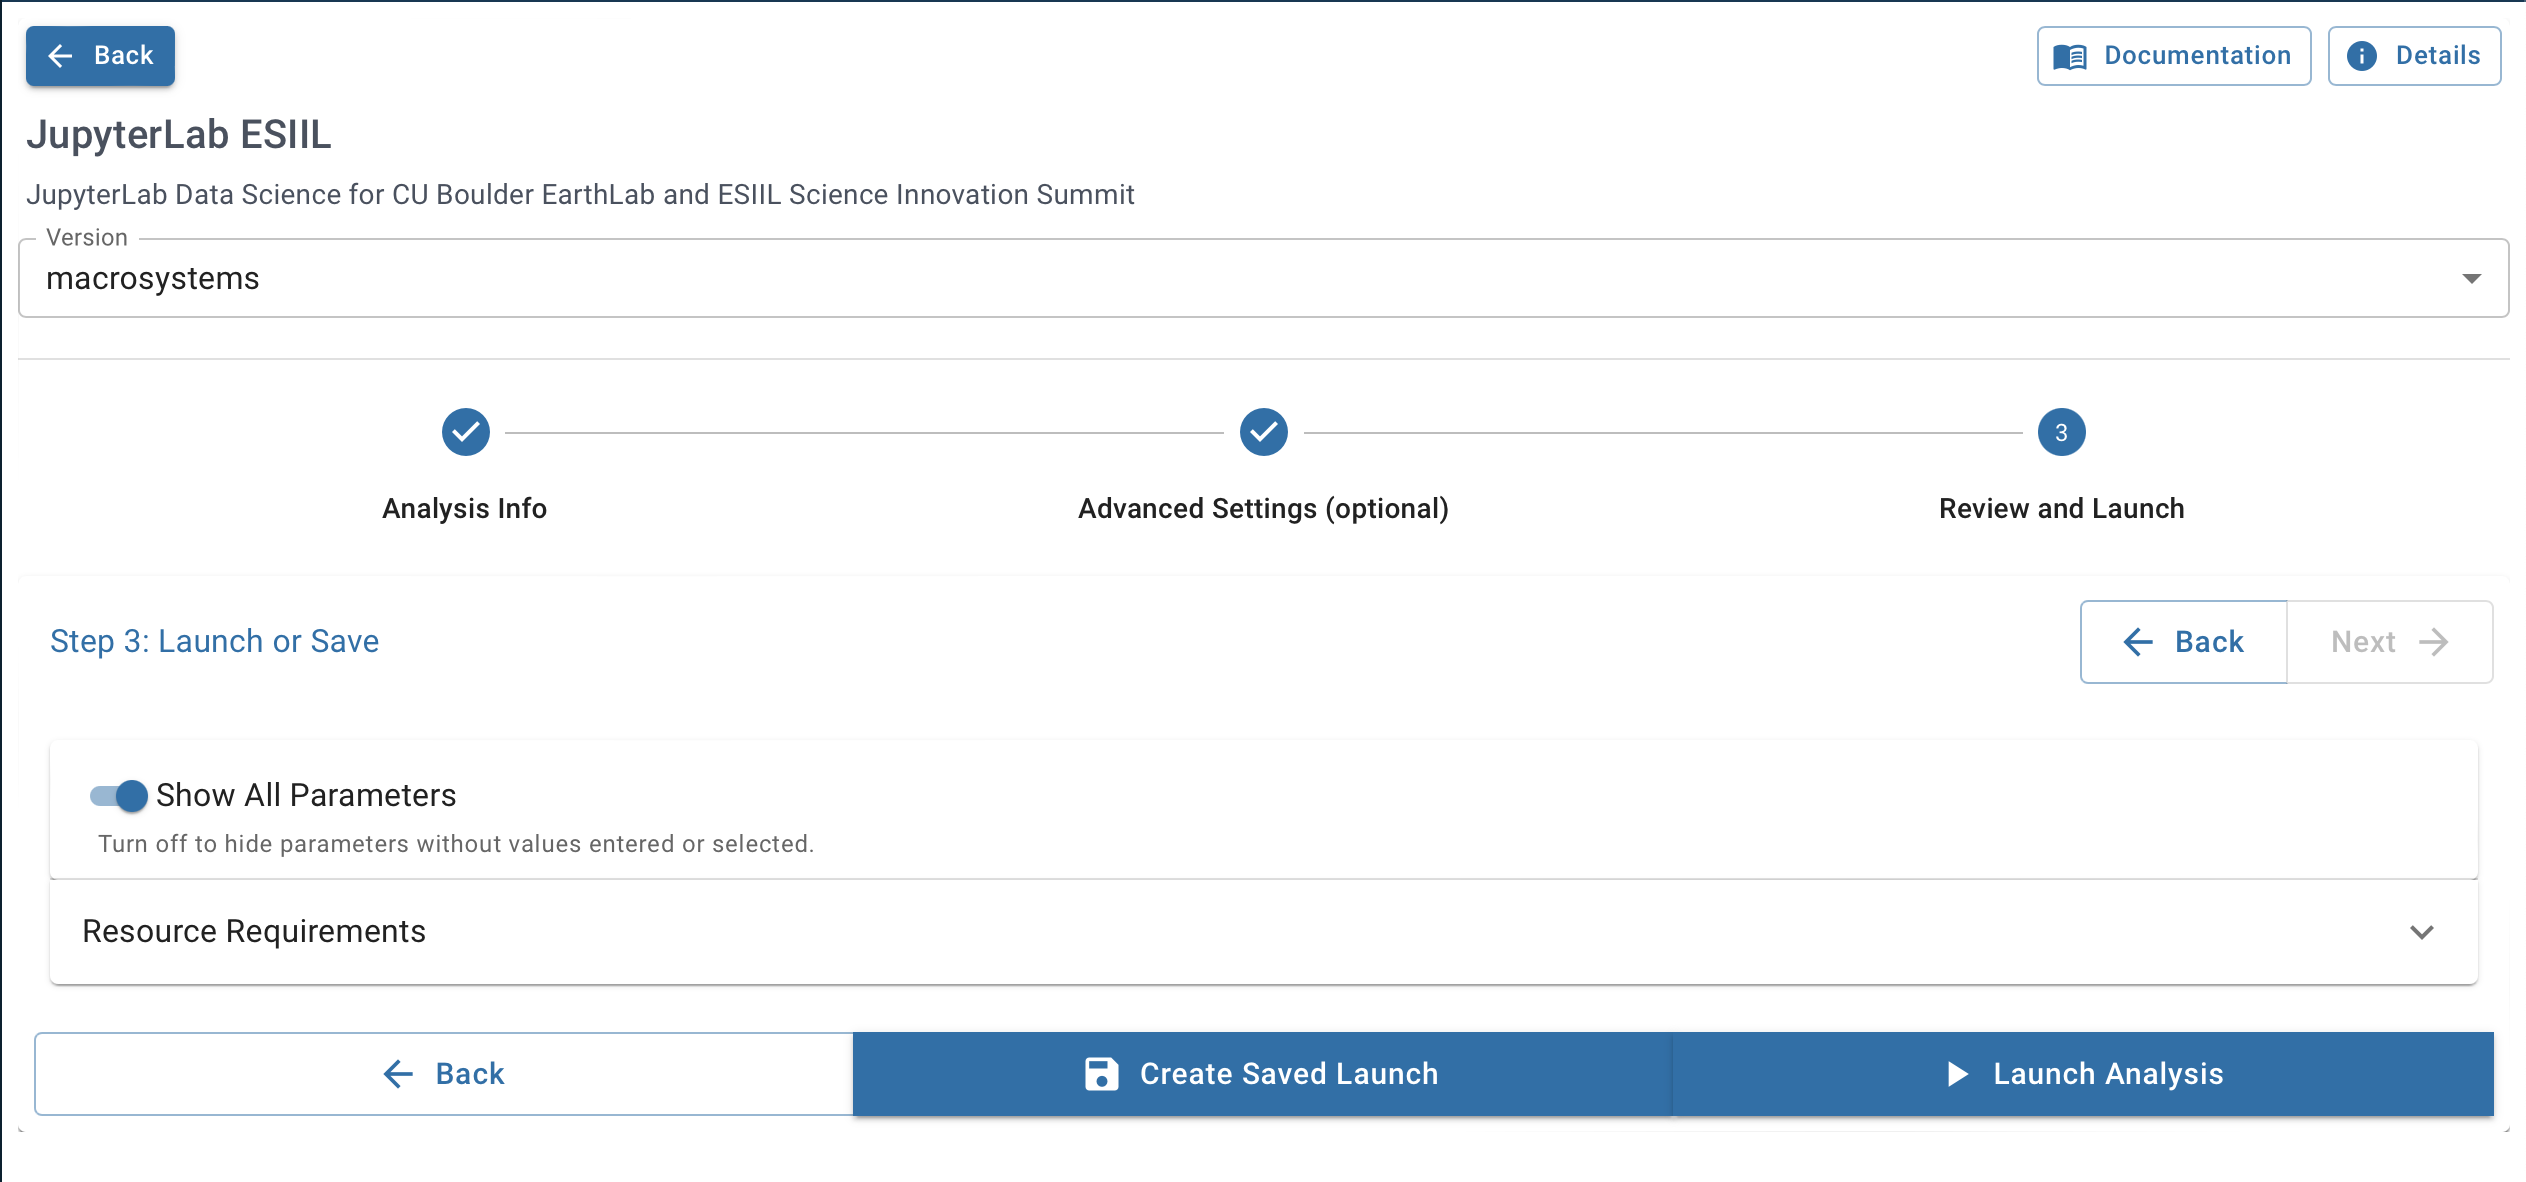
-
Click
Go to analysis.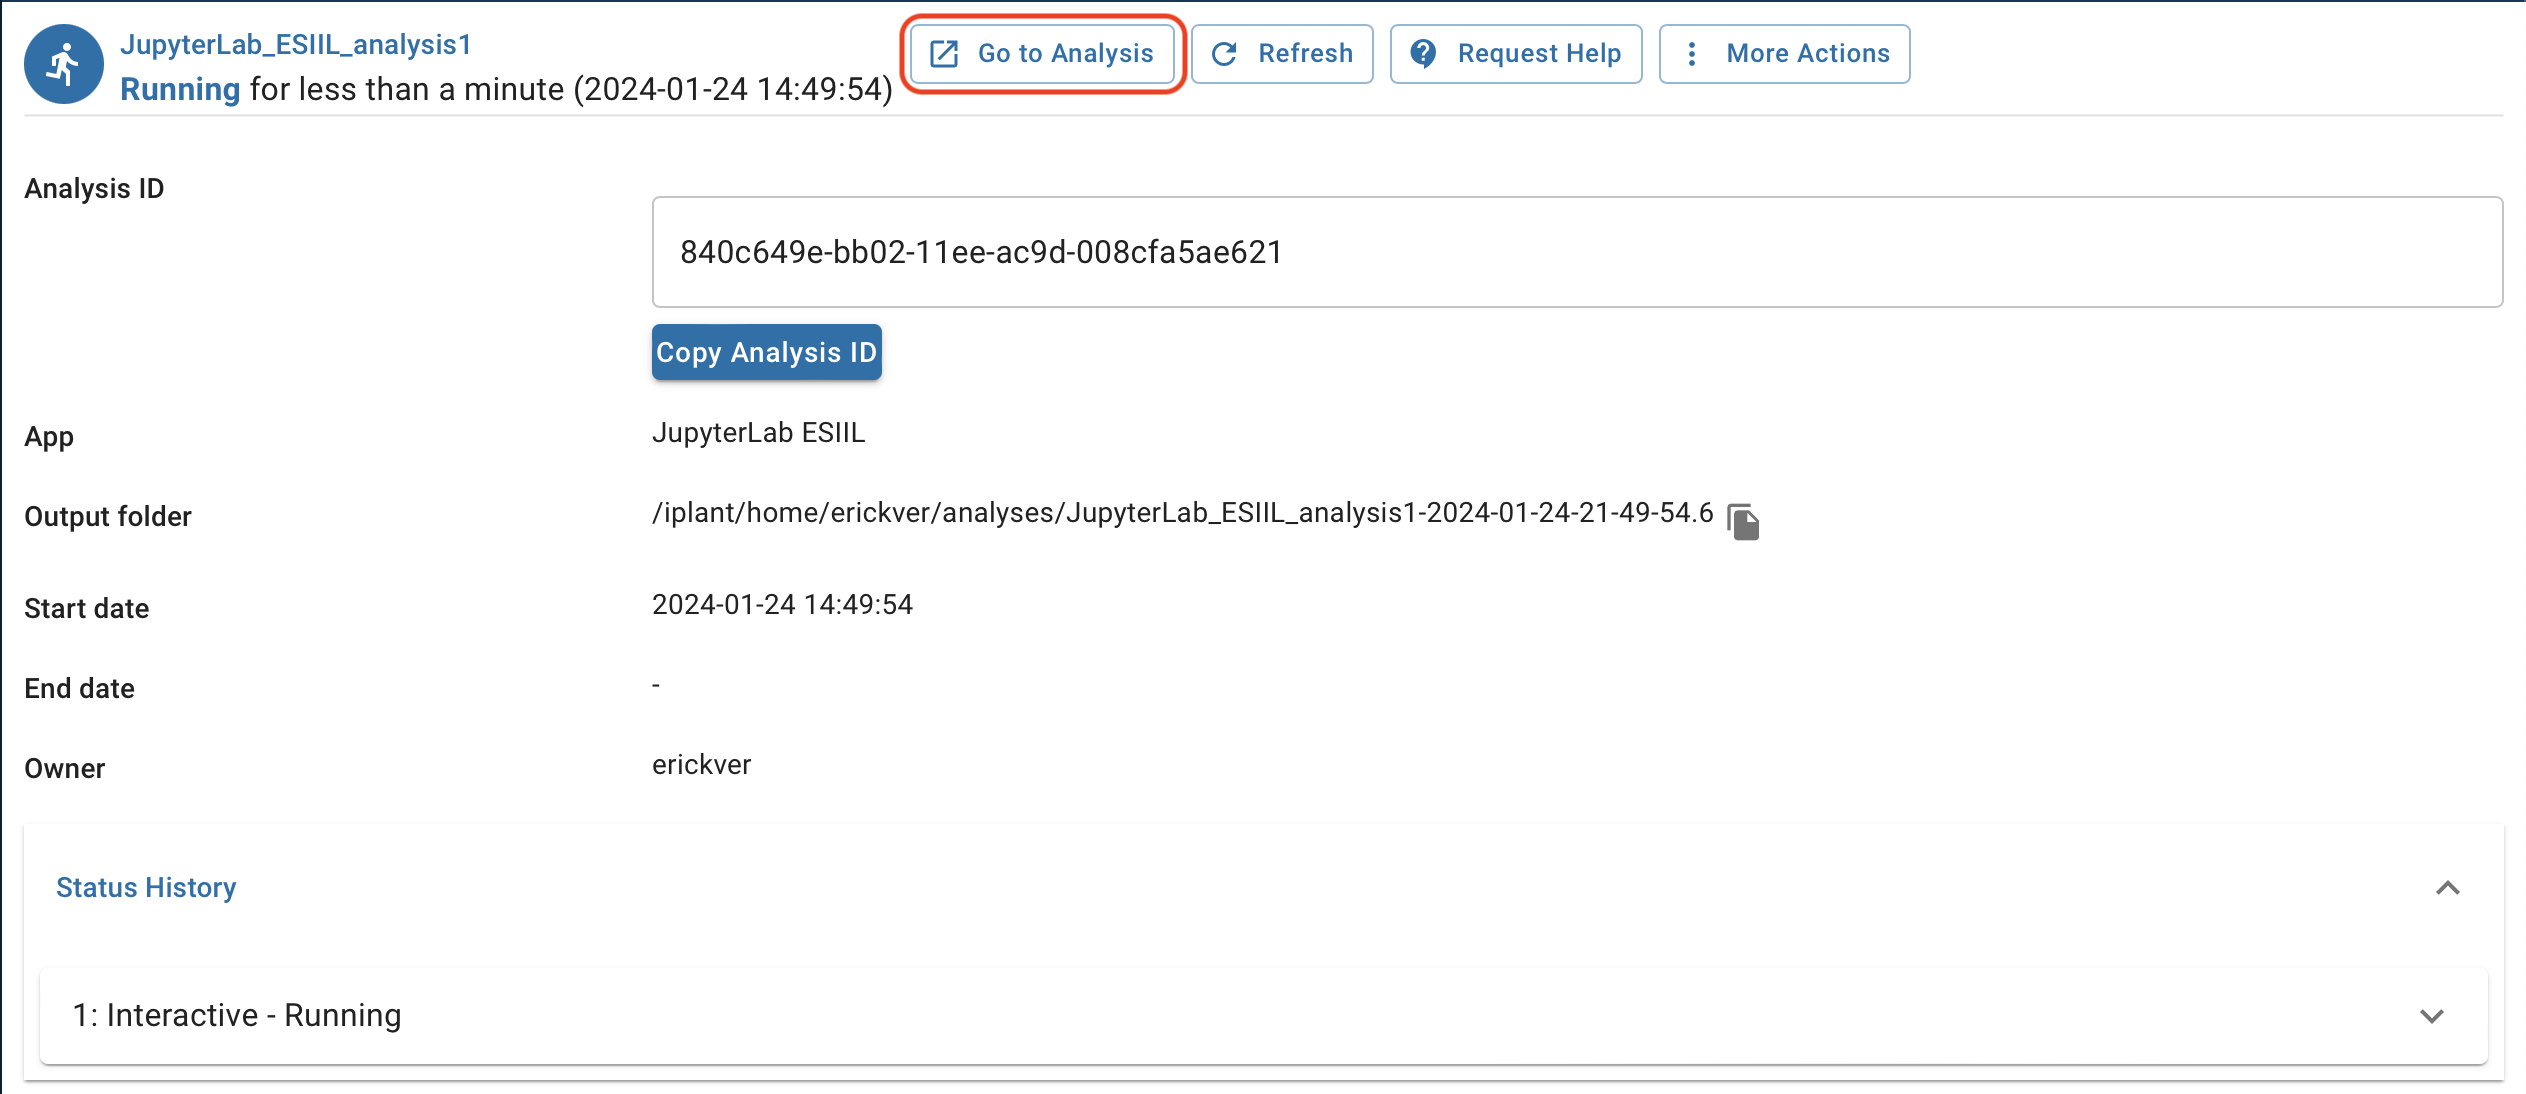
-
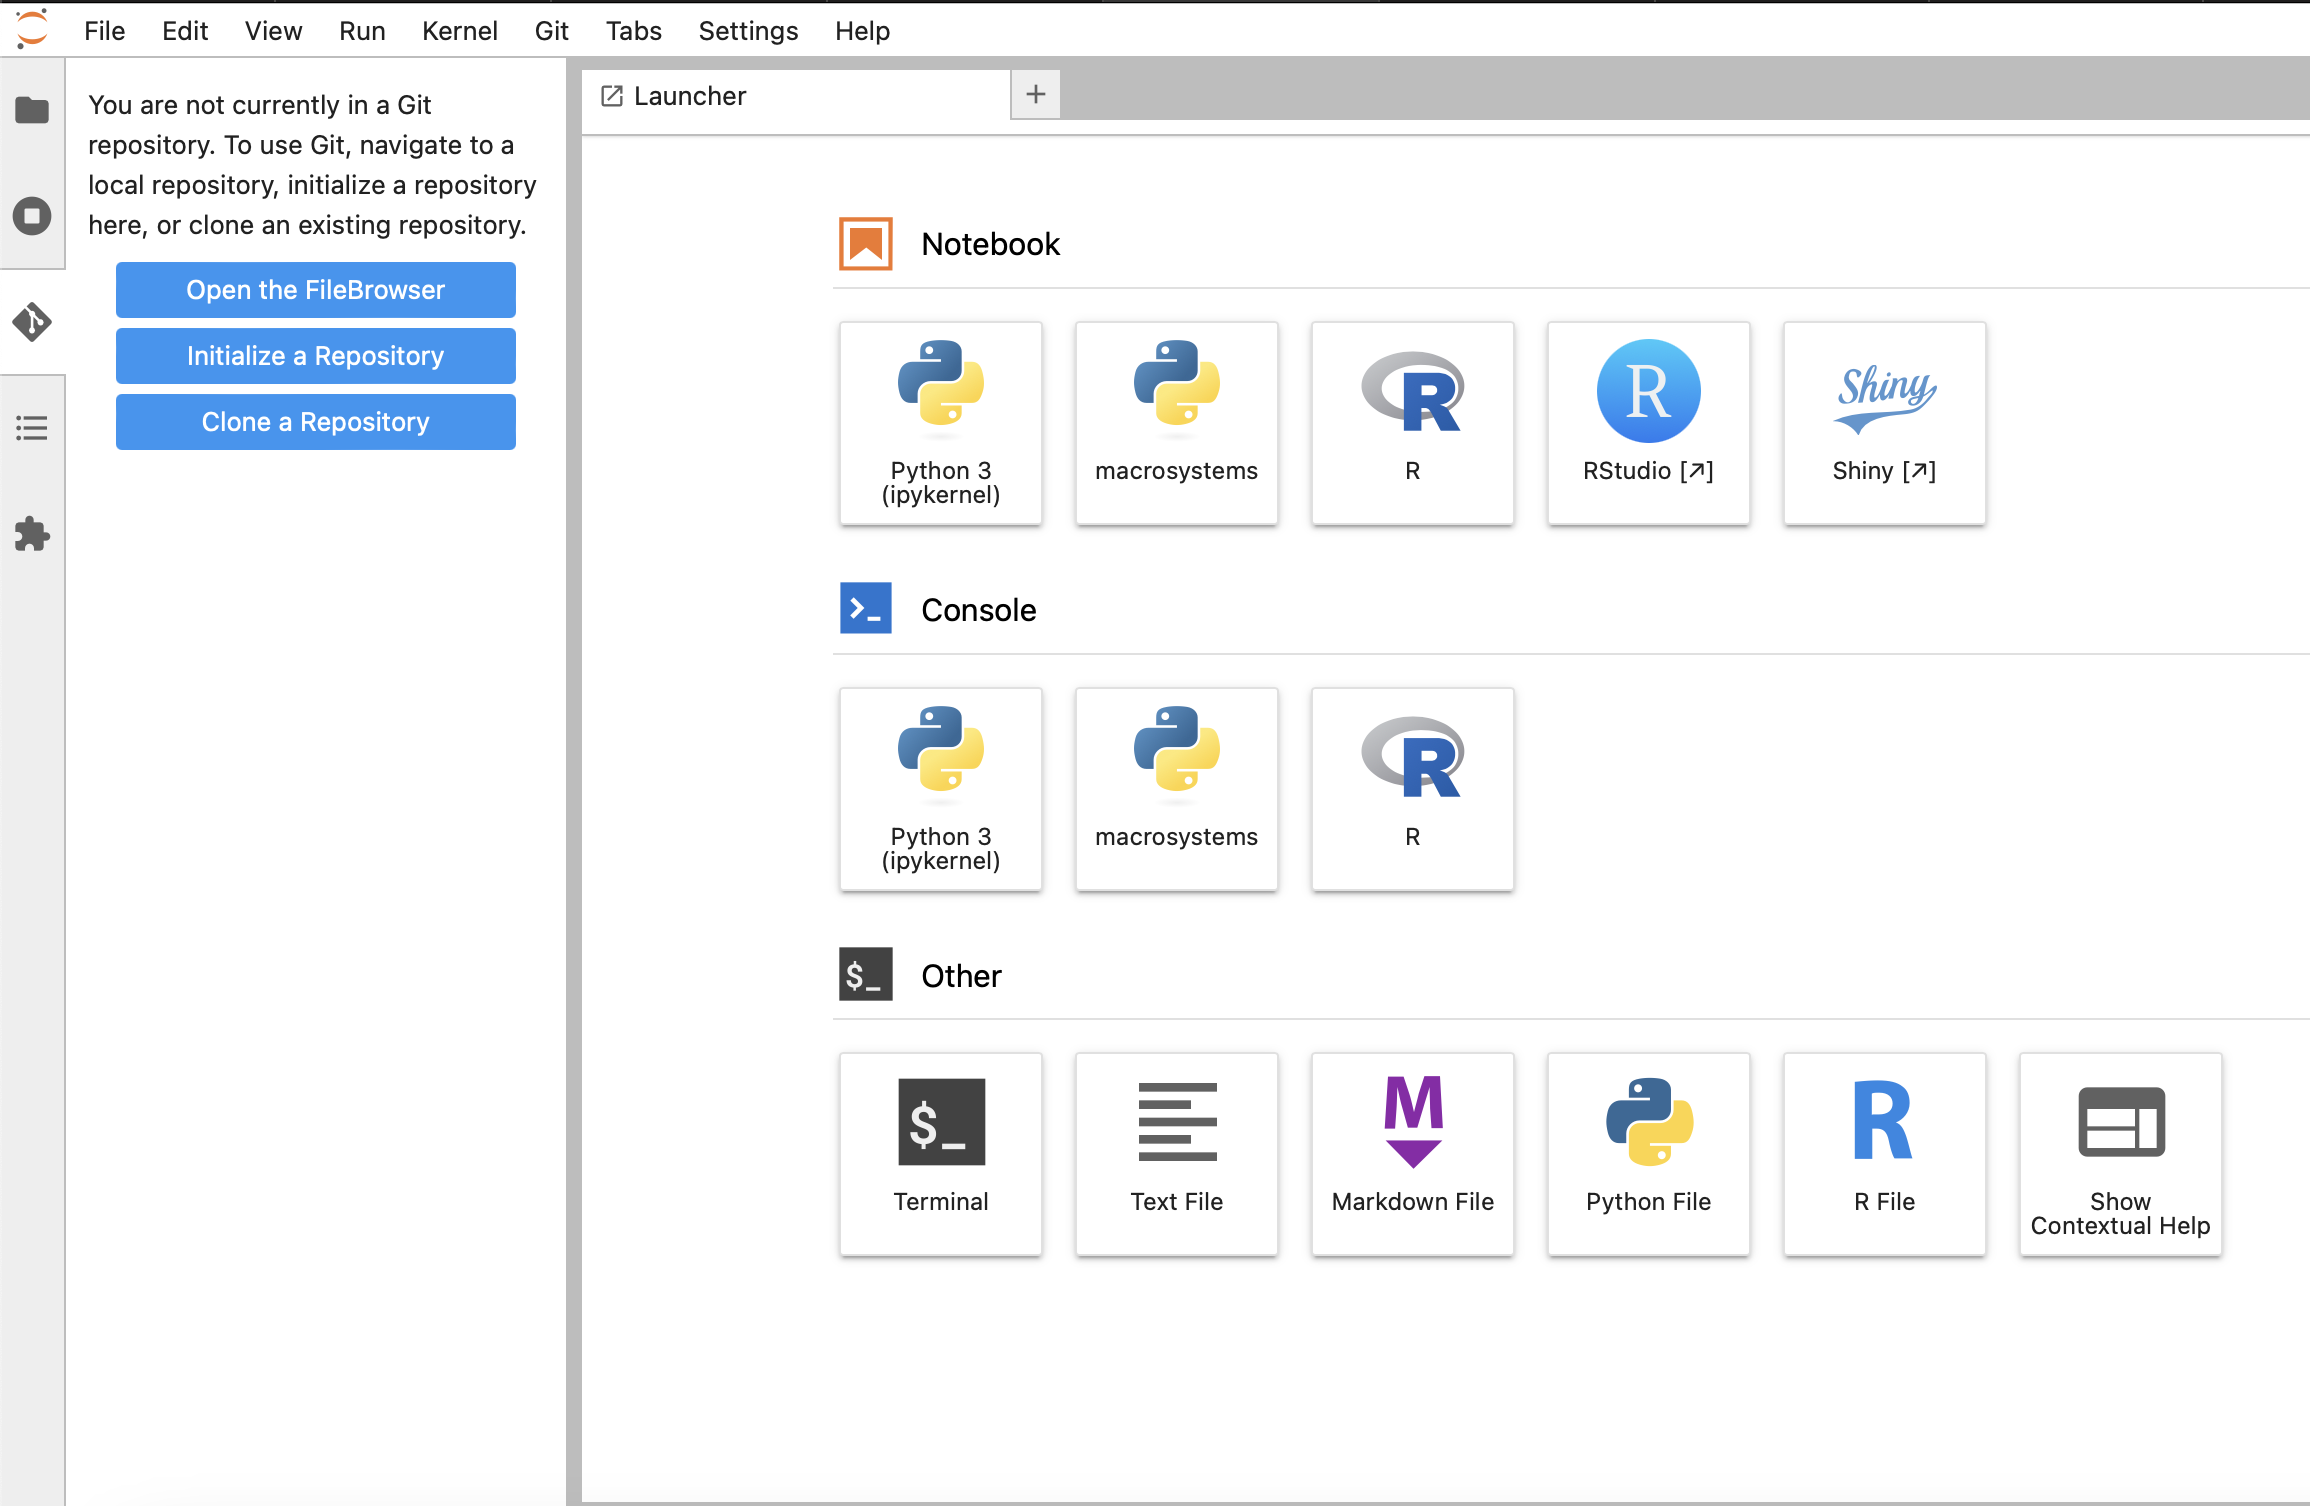
JupyterLab will open in your browser.
Step 3: Set Up the Project Environment
Open a terminal in JupyterLab (File → New → Terminal) and run the following commands. These must be run at the start of every new CyVerse session.
1. Clone the repository (only needed if not already in your data-store):
cd ~/data-store
git clone https://github.com/CU-ESIIL/Public-Observing-Unci-Maka.git
cd Public-Observing-Unci-Maka
If already cloned, just pull the latest changes:
cd ~/data-store/Public-Observing-Unci-Maka
git pull
2. Limit extraction threads (prevents out-of-memory crashes during install):
conda config --set fetch_threads 1
conda config --set extract_threads 1
3. Create the conda environment:
mamba env create -f environment.yml
This takes several minutes. If you see EnvironmentNameNotFound when activating later, this step did not complete — run it again.
4. Register the kernel (the --env flags prevent PROJ/CRS errors in the notebooks):
conda activate unci-maka-py
python -m ipykernel install --user \
  --name unci-maka-py \
  --display-name "Python (unci-maka-py)" \
  --env PROJ_DATA /opt/conda/envs/unci-maka-py/share/proj \
  --env PROJ_LIB /opt/conda/envs/unci-maka-py/share/proj \
  --env GDAL_DATA /opt/conda/envs/unci-maka-py/share/gdal
5. Refresh JupyterLab (click the browser refresh button), then open a notebook and select "Python (unci-maka-py)" from the kernel picker.
Step 4: Set Up GitHub Credentials
GitHub SSH credentials are tied to each CyVerse container and must be recreated each session. You only need to do this if you want to push changes back to GitHub.
Video walkthrough

-
From JupyterLab, click the Git Extension icon in the left sidebar.
-
Click
Clone a Repository, paste the cyverse-utils URL below, and clickClone:https://github.com/CU-ESIIL/cyverse-utils.git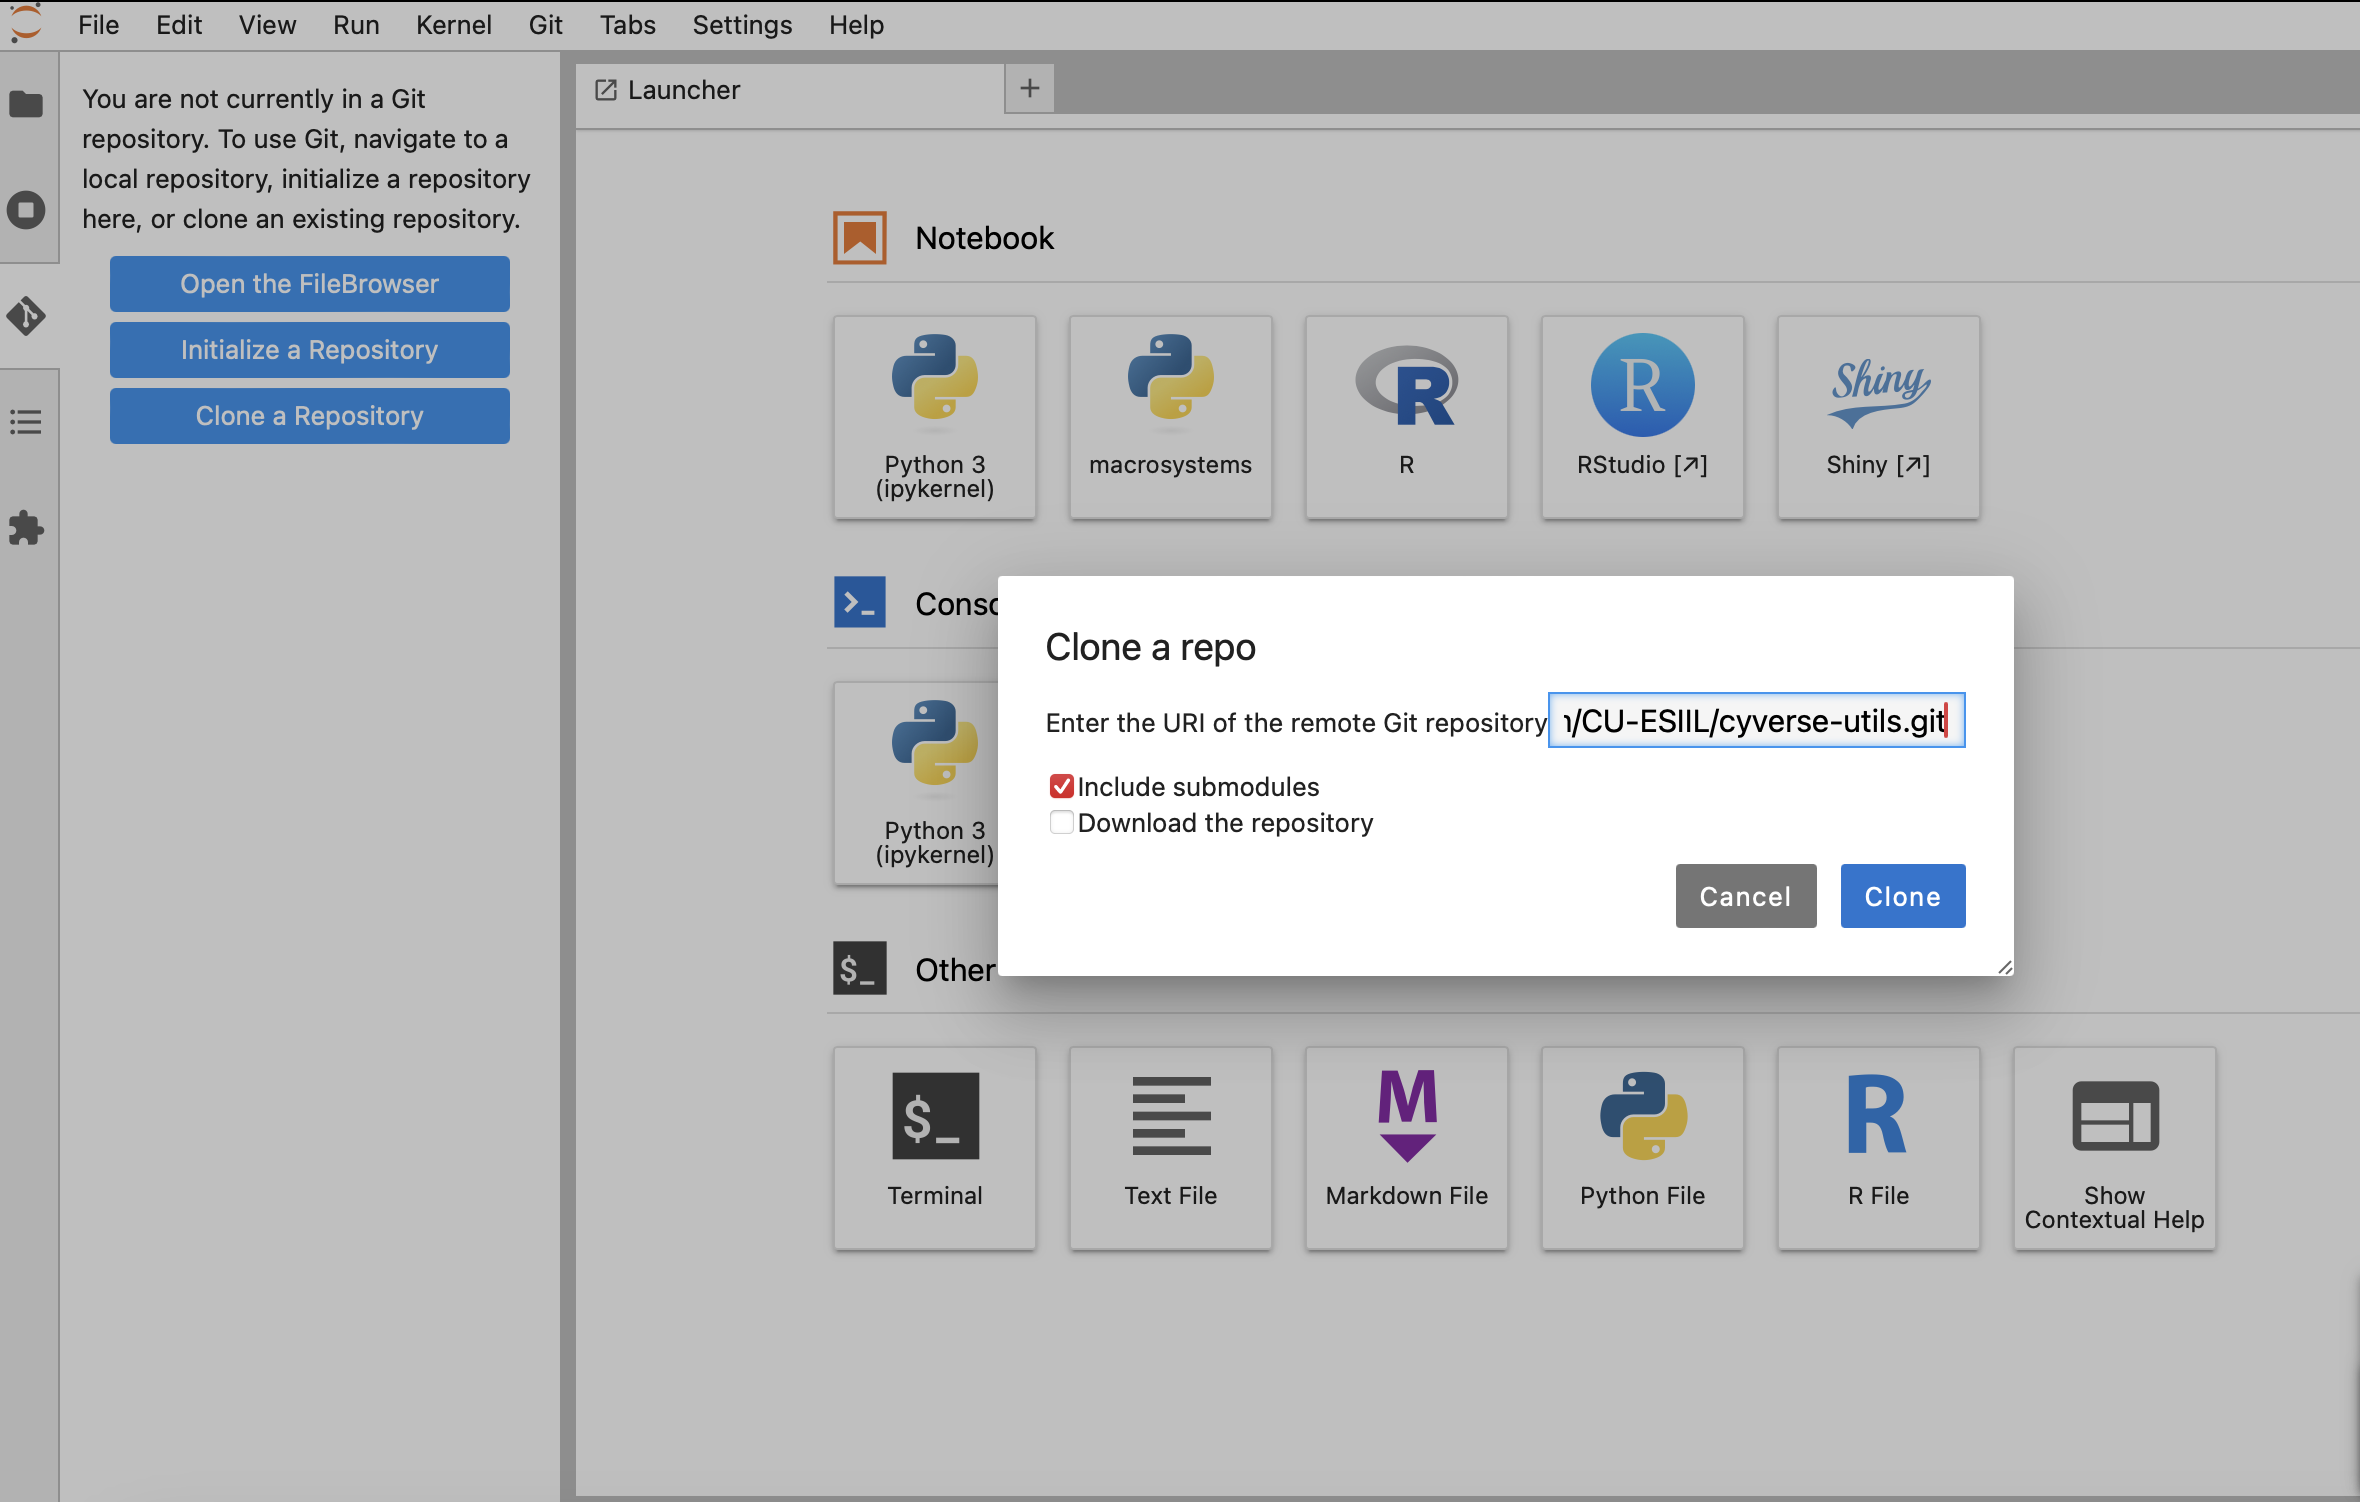
-
You should now see the
cyverse-utilsfolder in your directory tree (from the default/home/jovyan/data-storedirectory).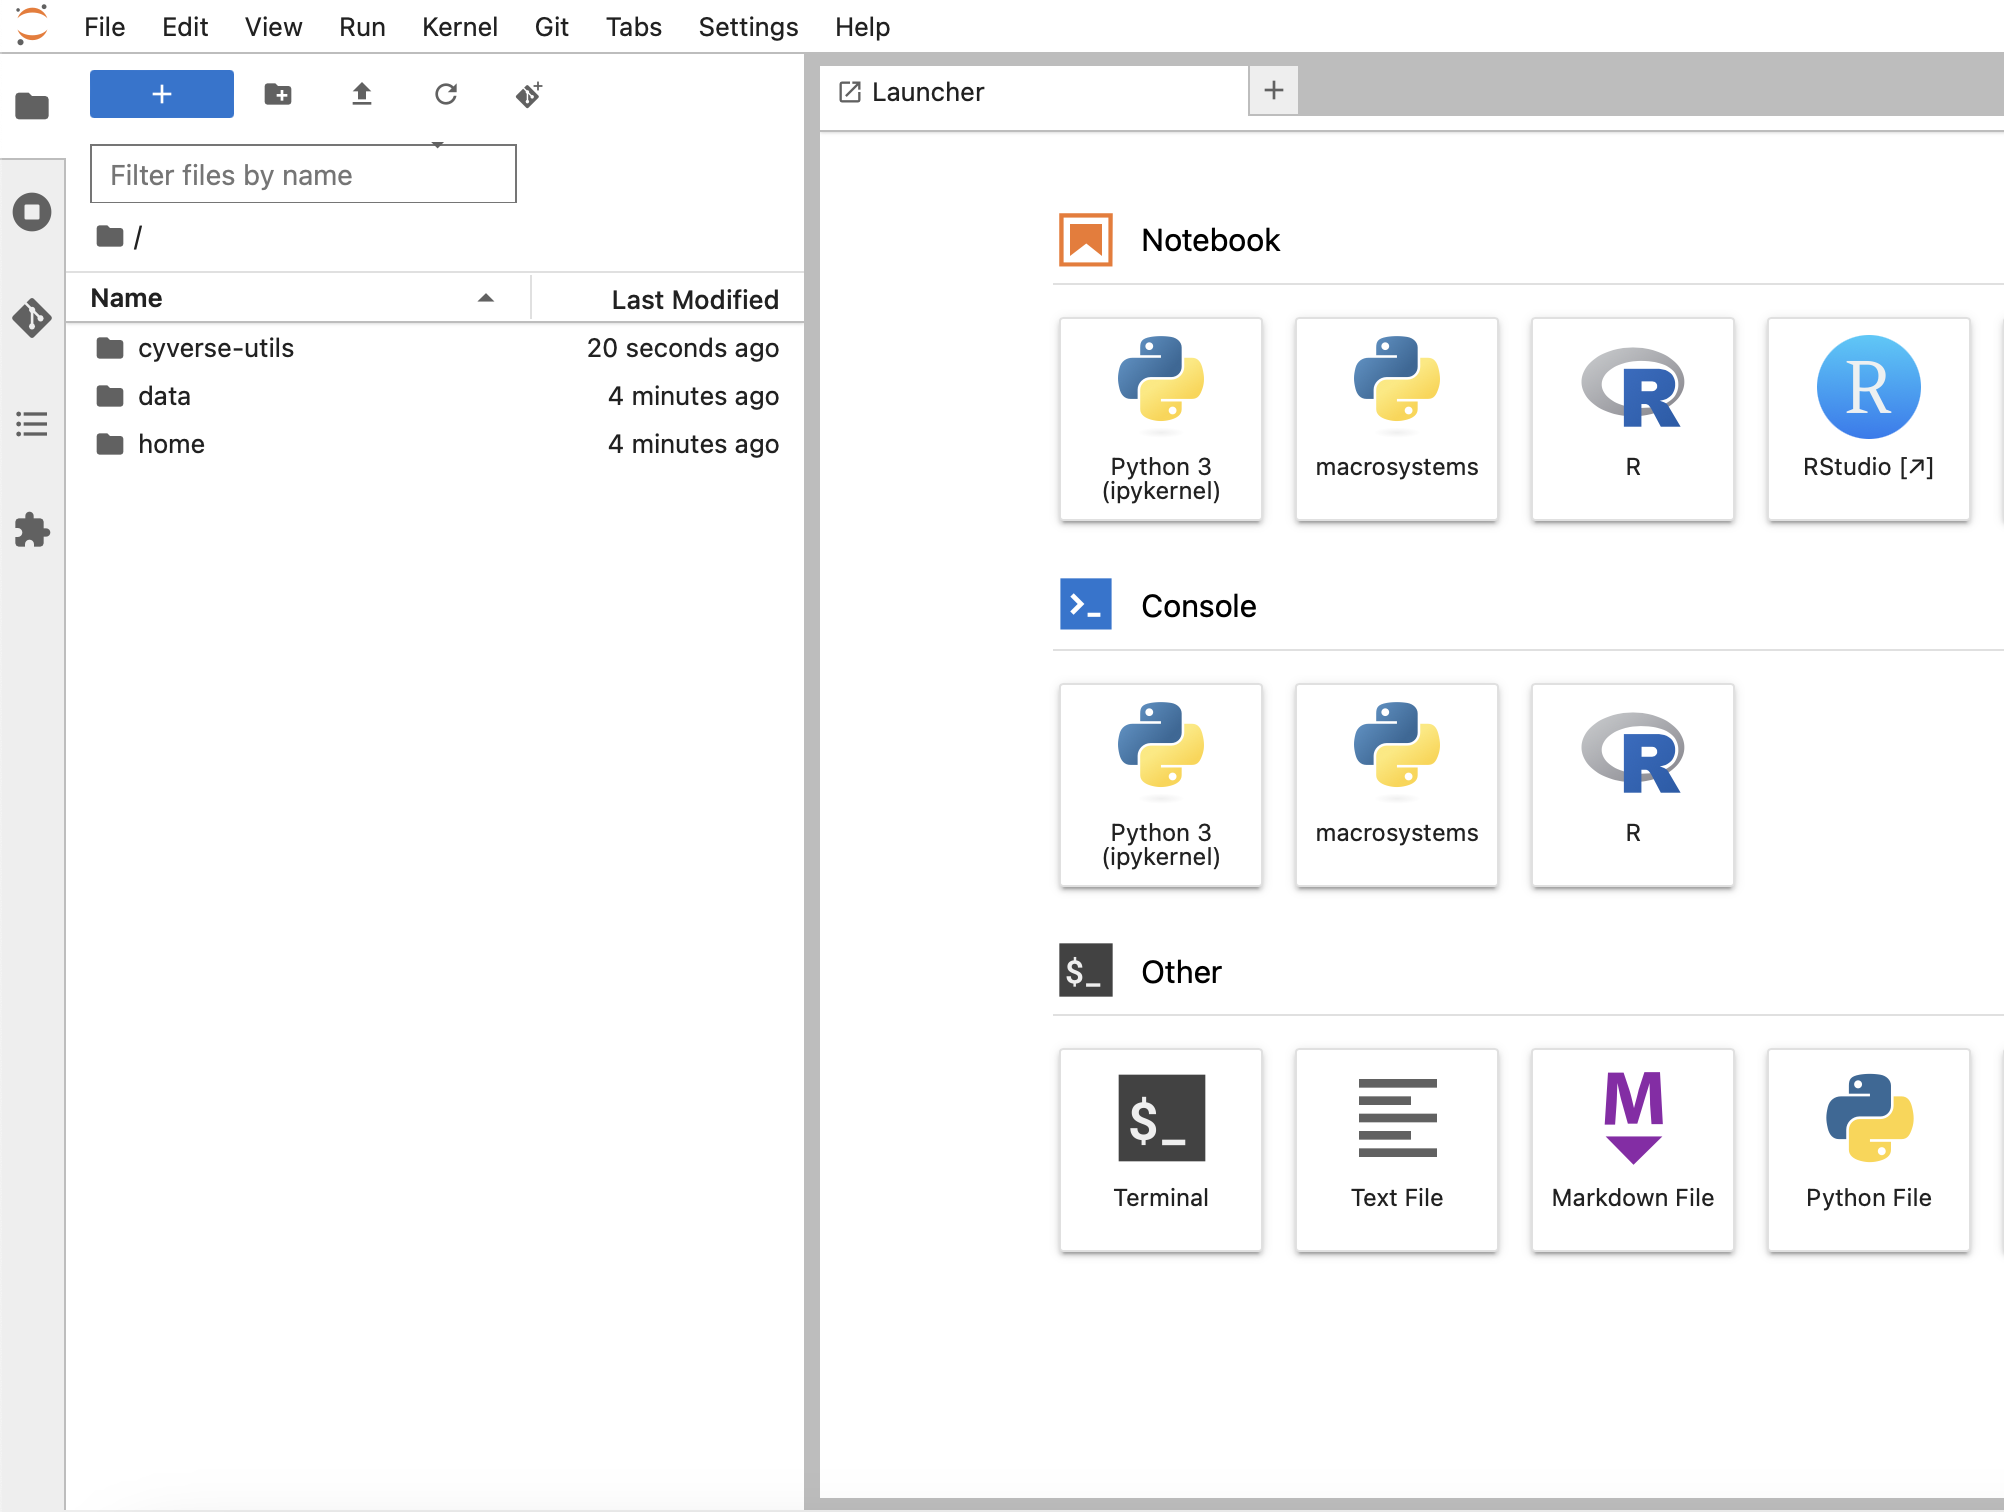
-
Open the
cyverse-utilsfolder.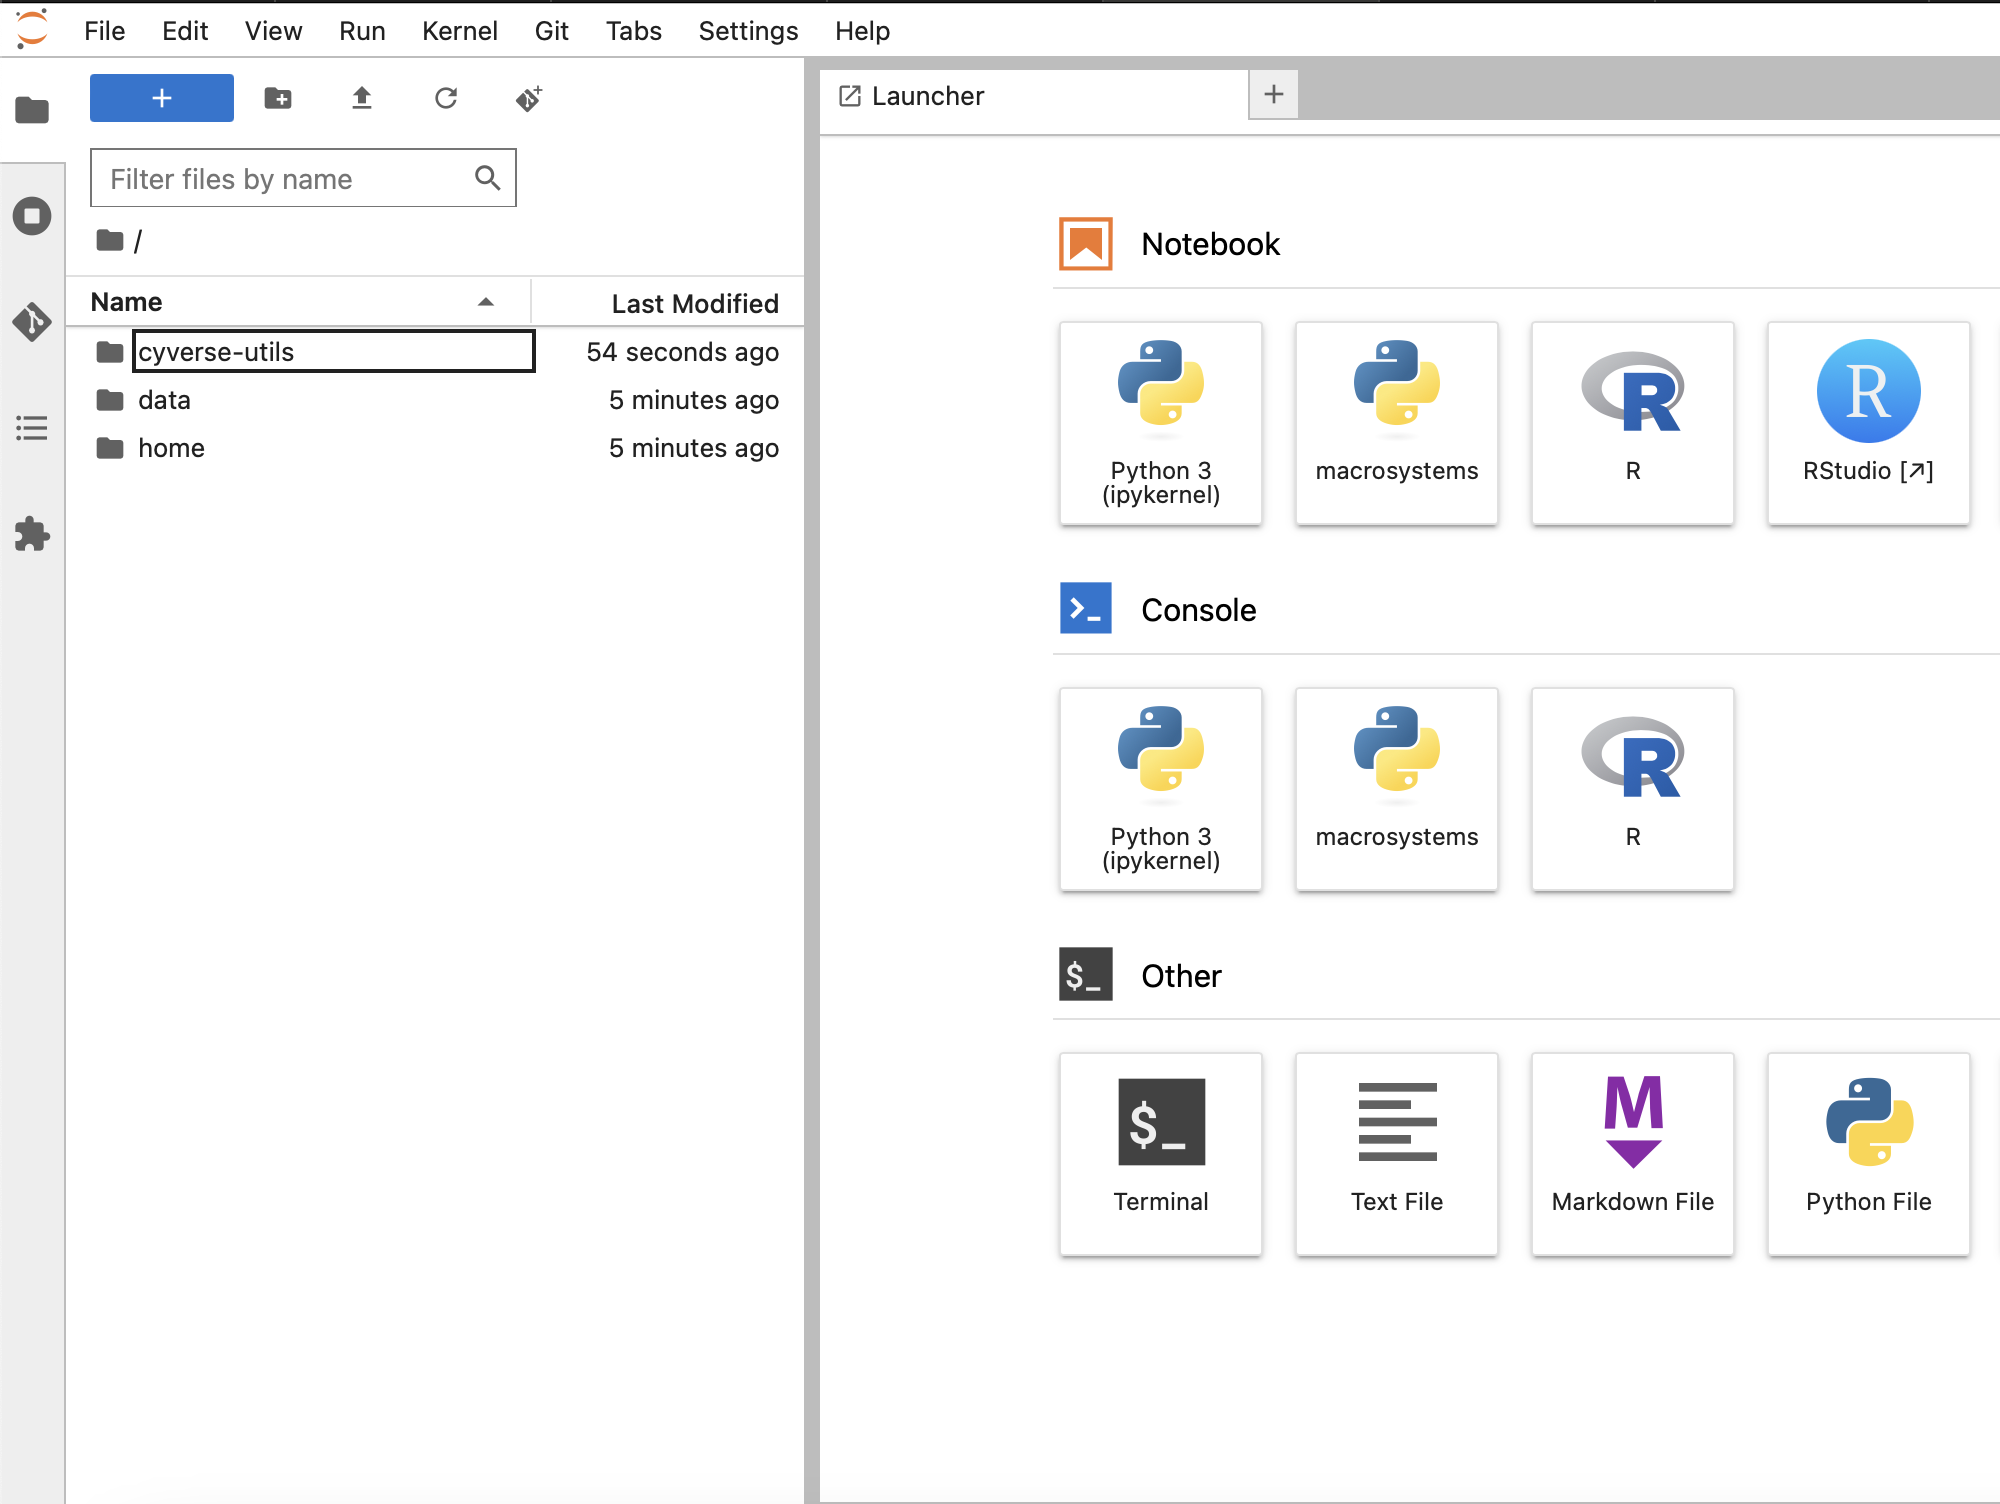
-
Open
create_github_keypair.ipynb(Python) orcreate_github_keypair.R(R).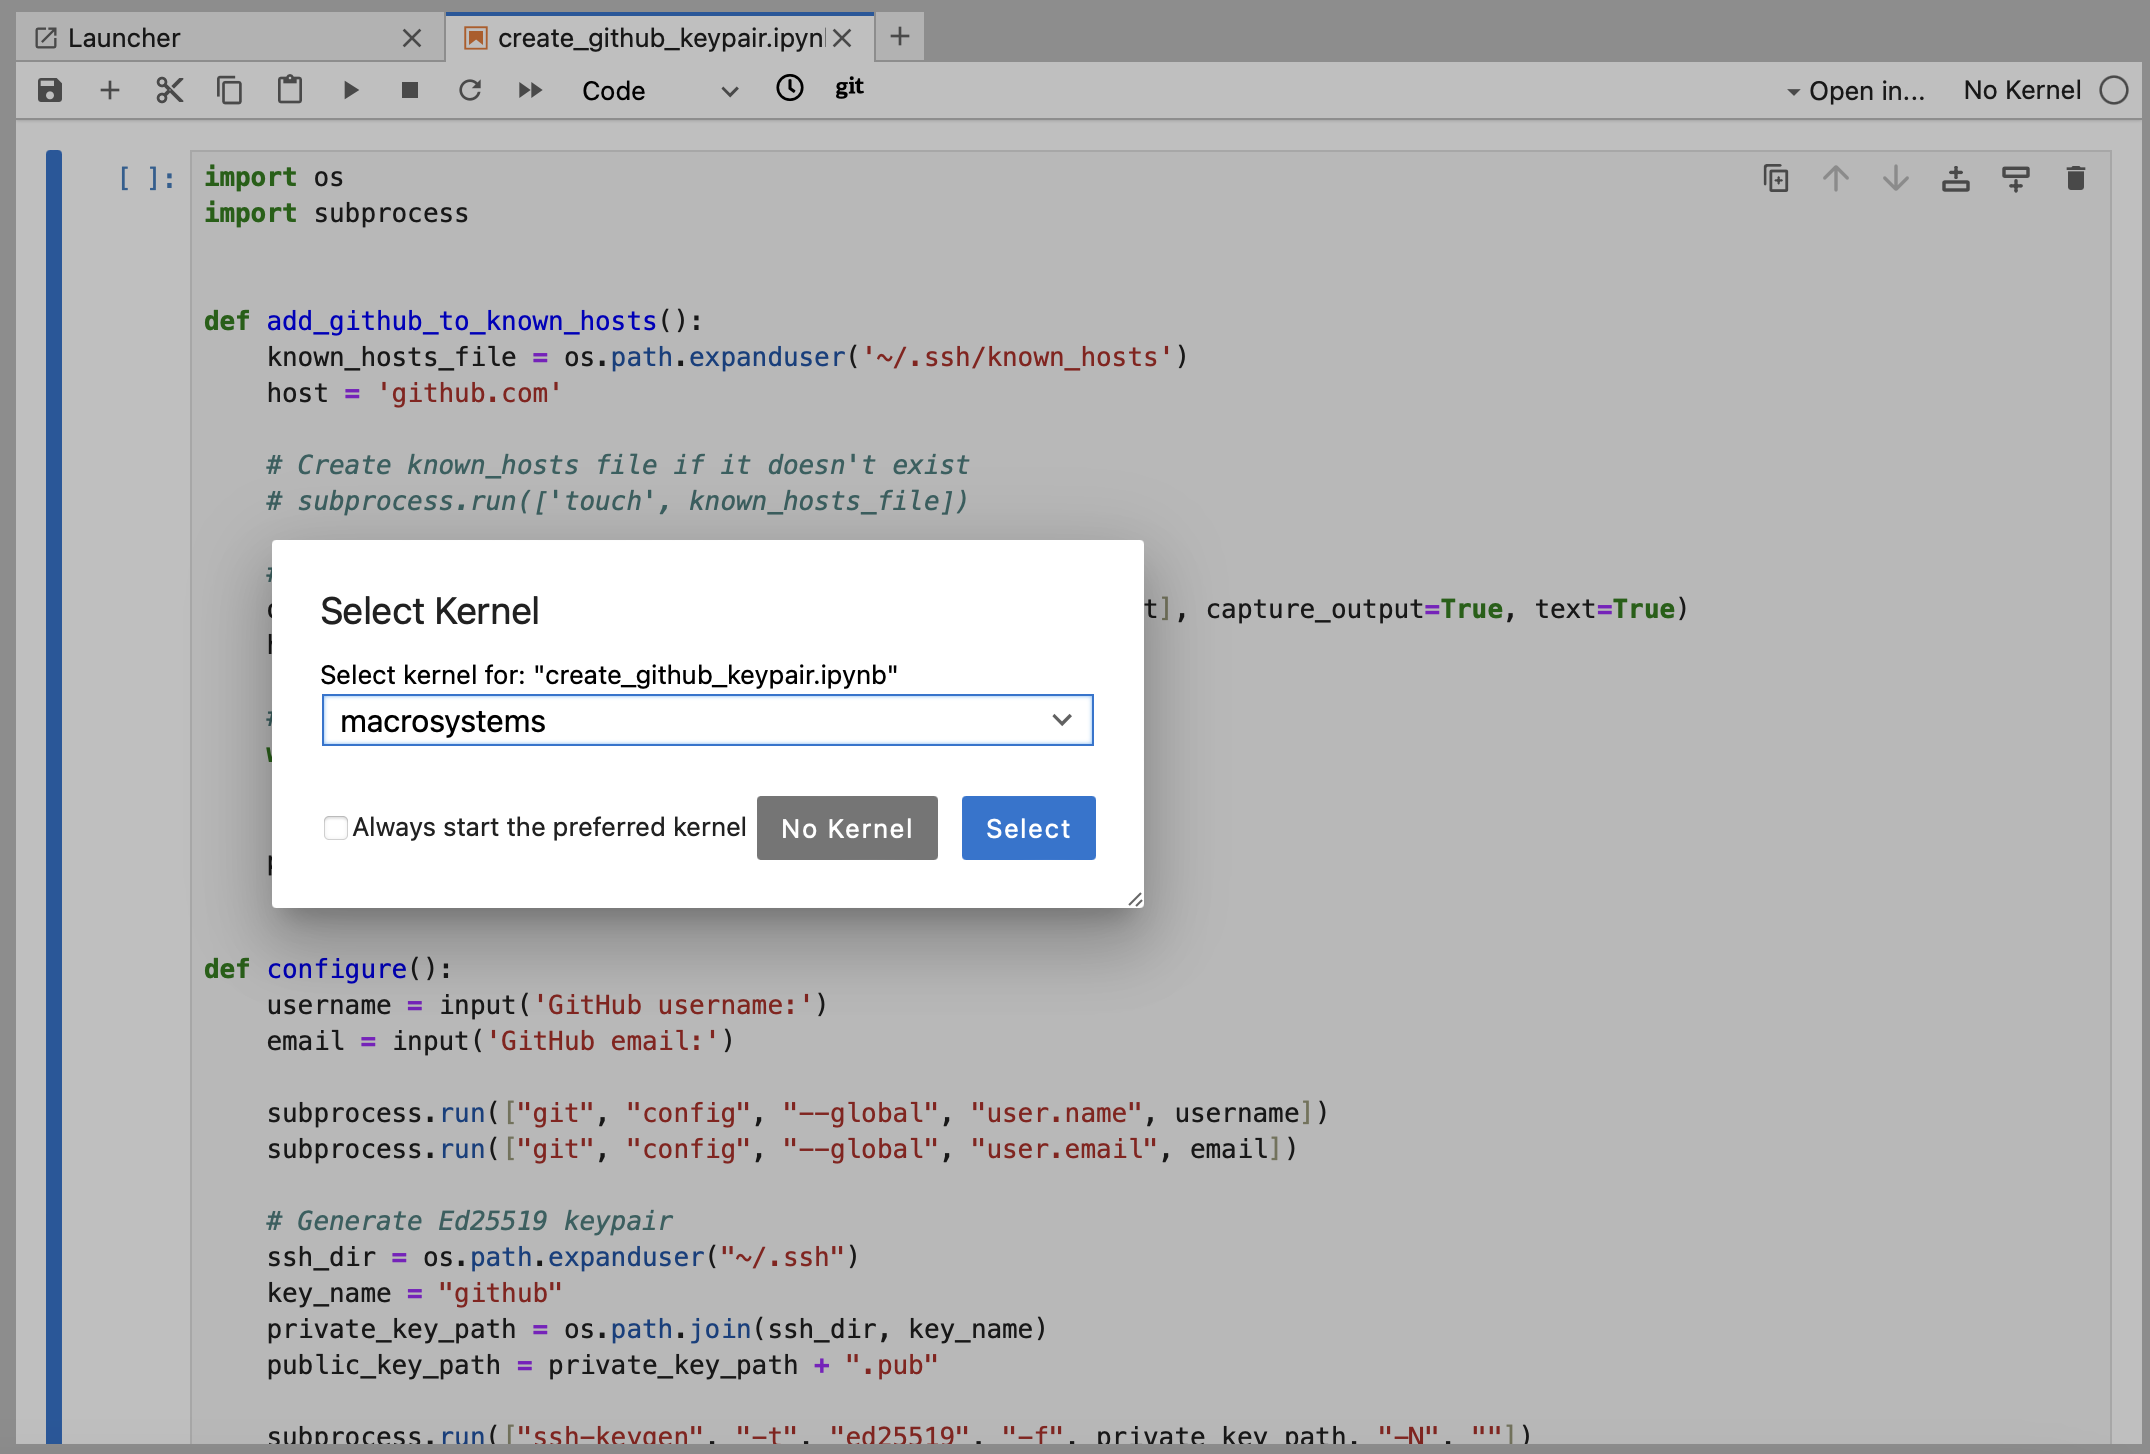
-
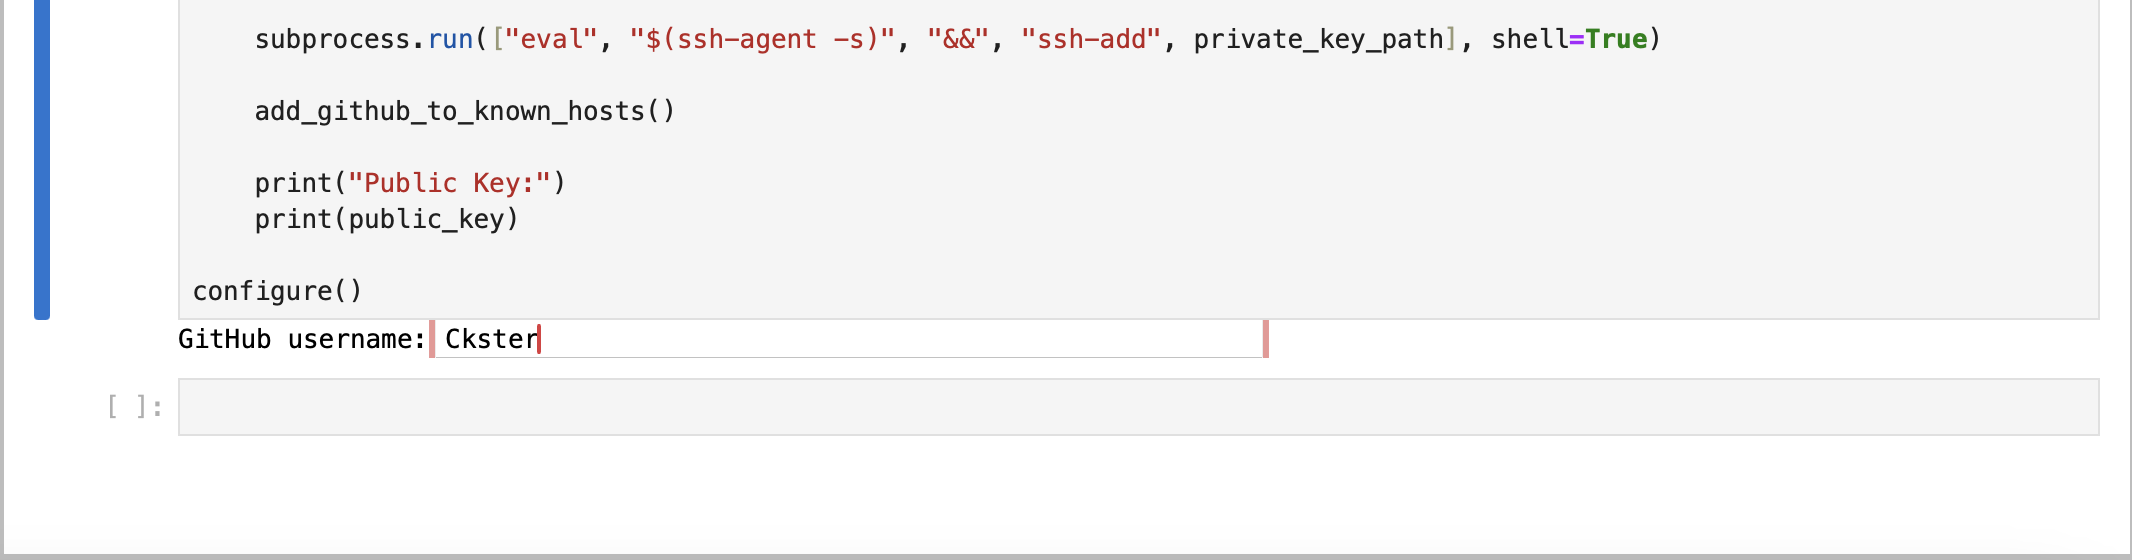
Click the play button. Enter your GitHub username and email when prompted.


-
Copy the entire public key line, including
ssh-ed25519at the start andjovyan@...at the end.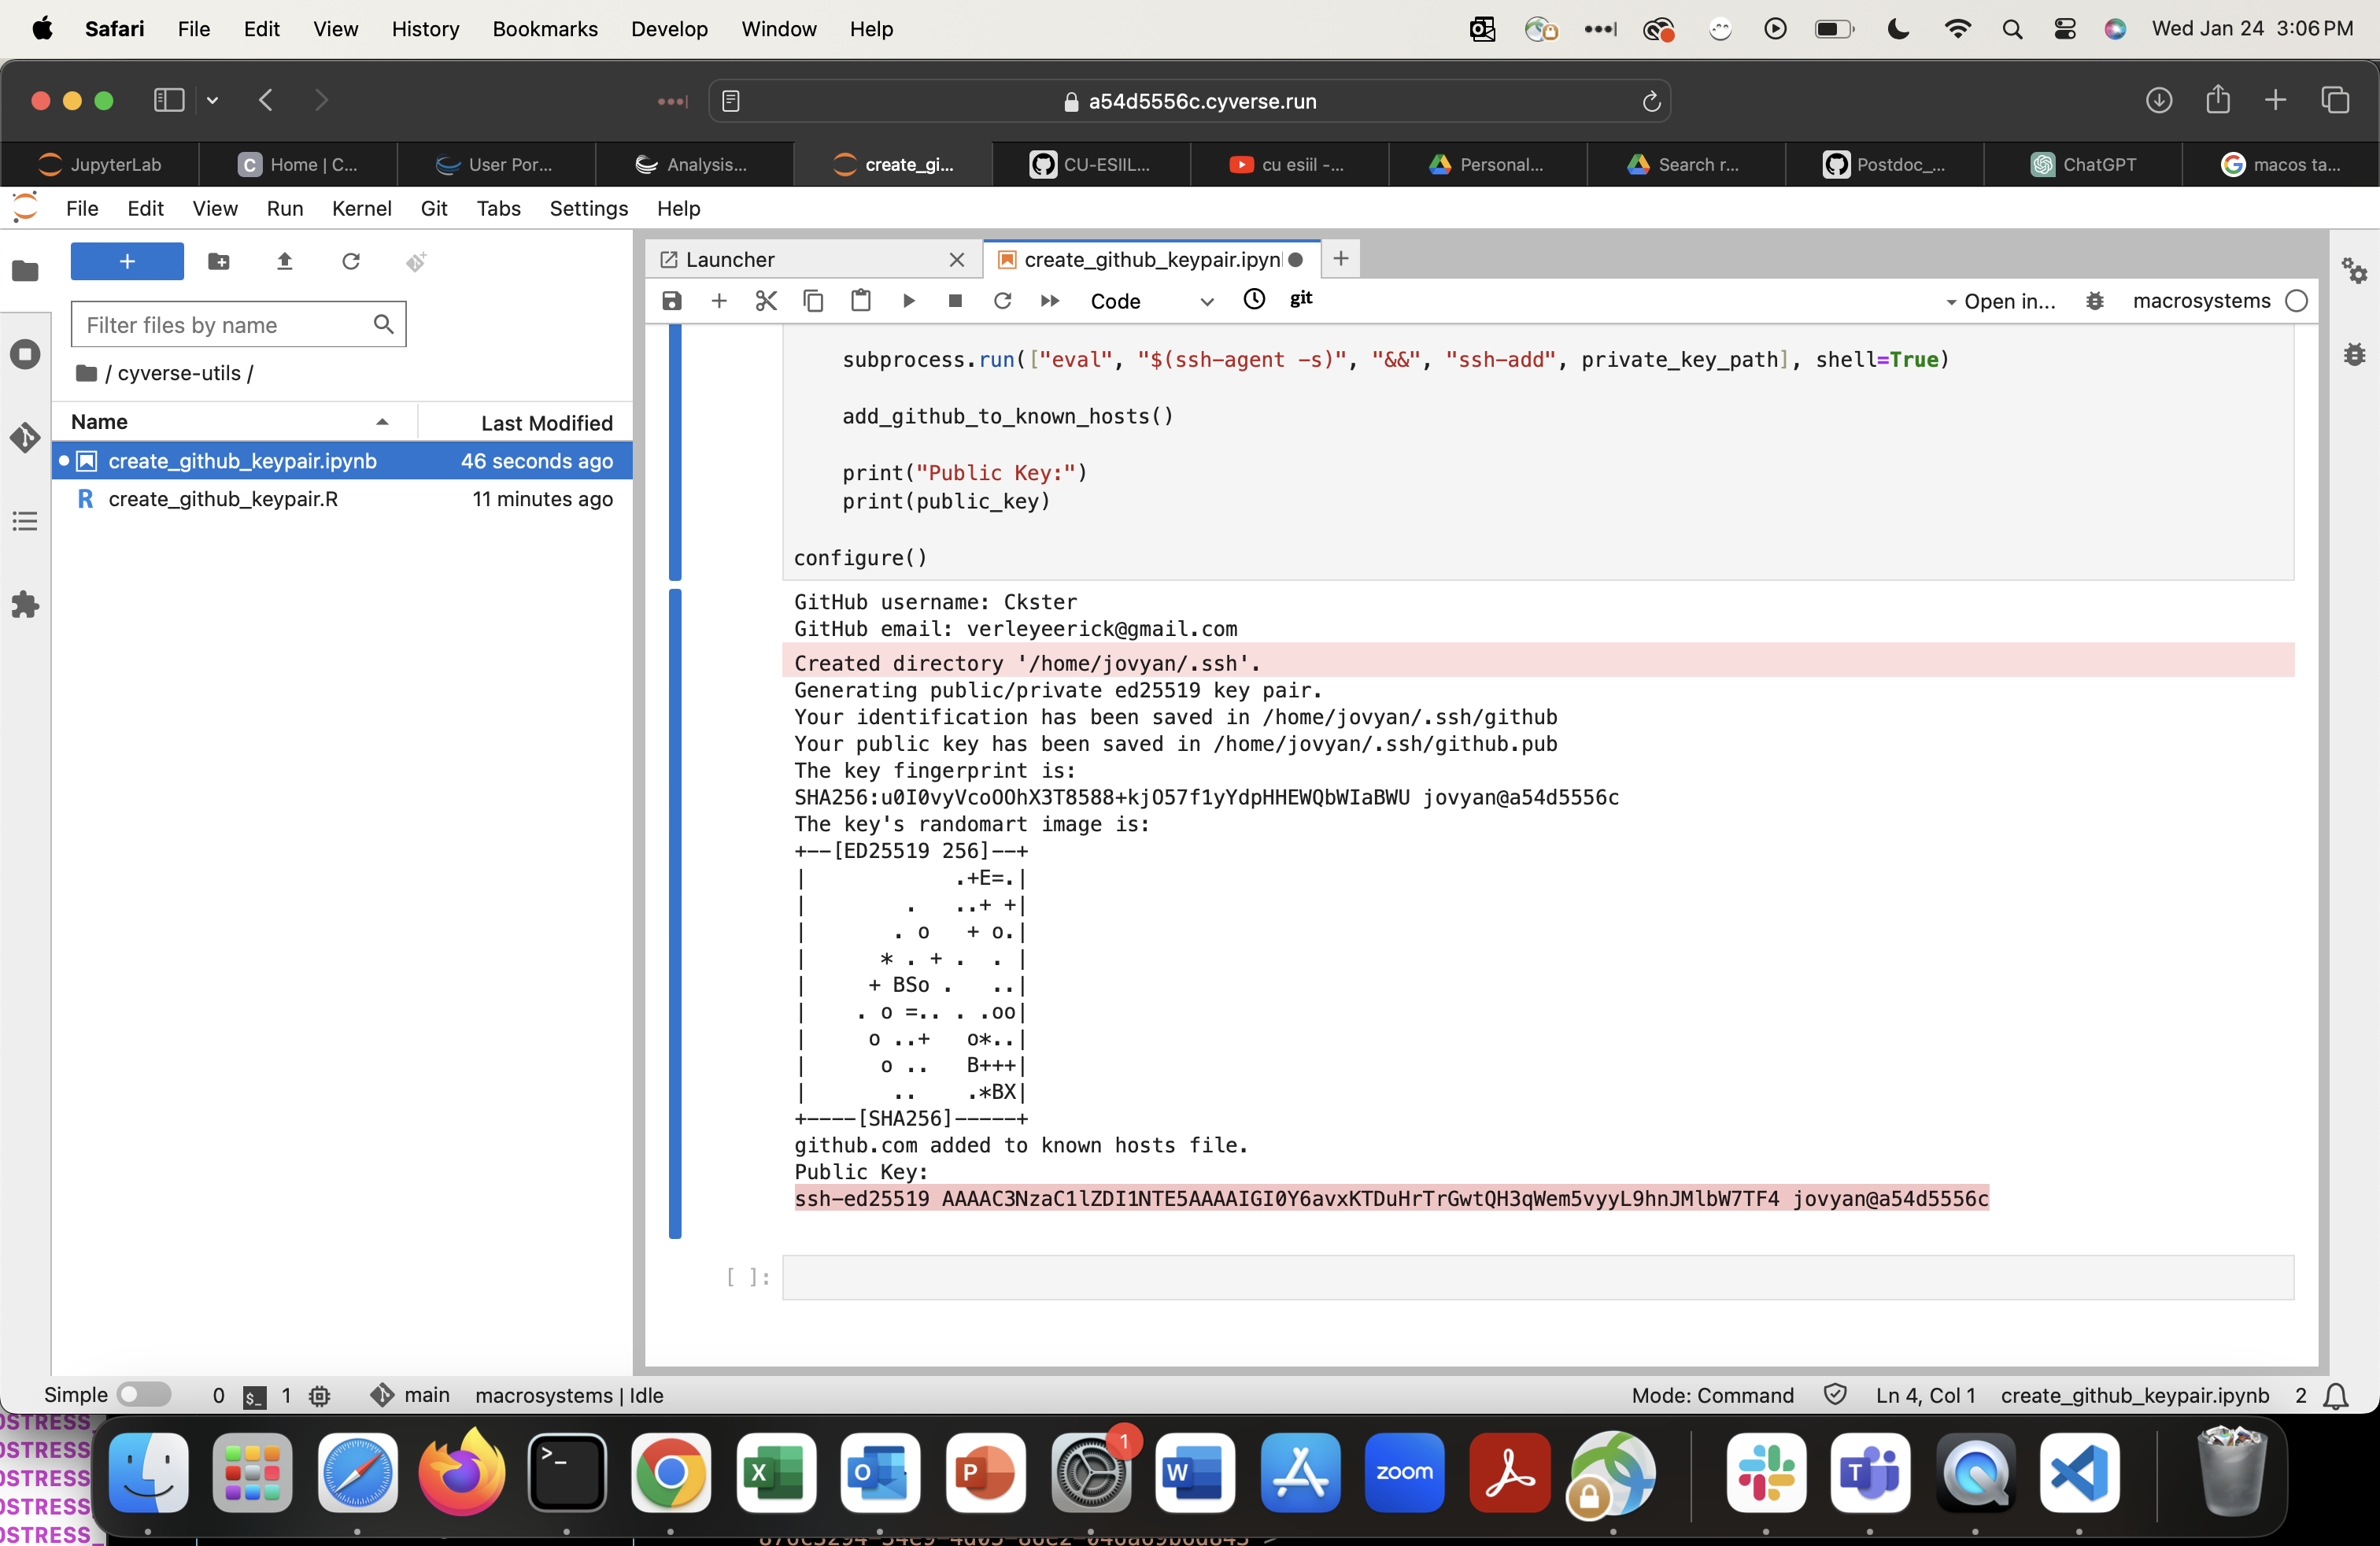
-
Go to your GitHub Settings page.
-
Select
SSH and GPG keys.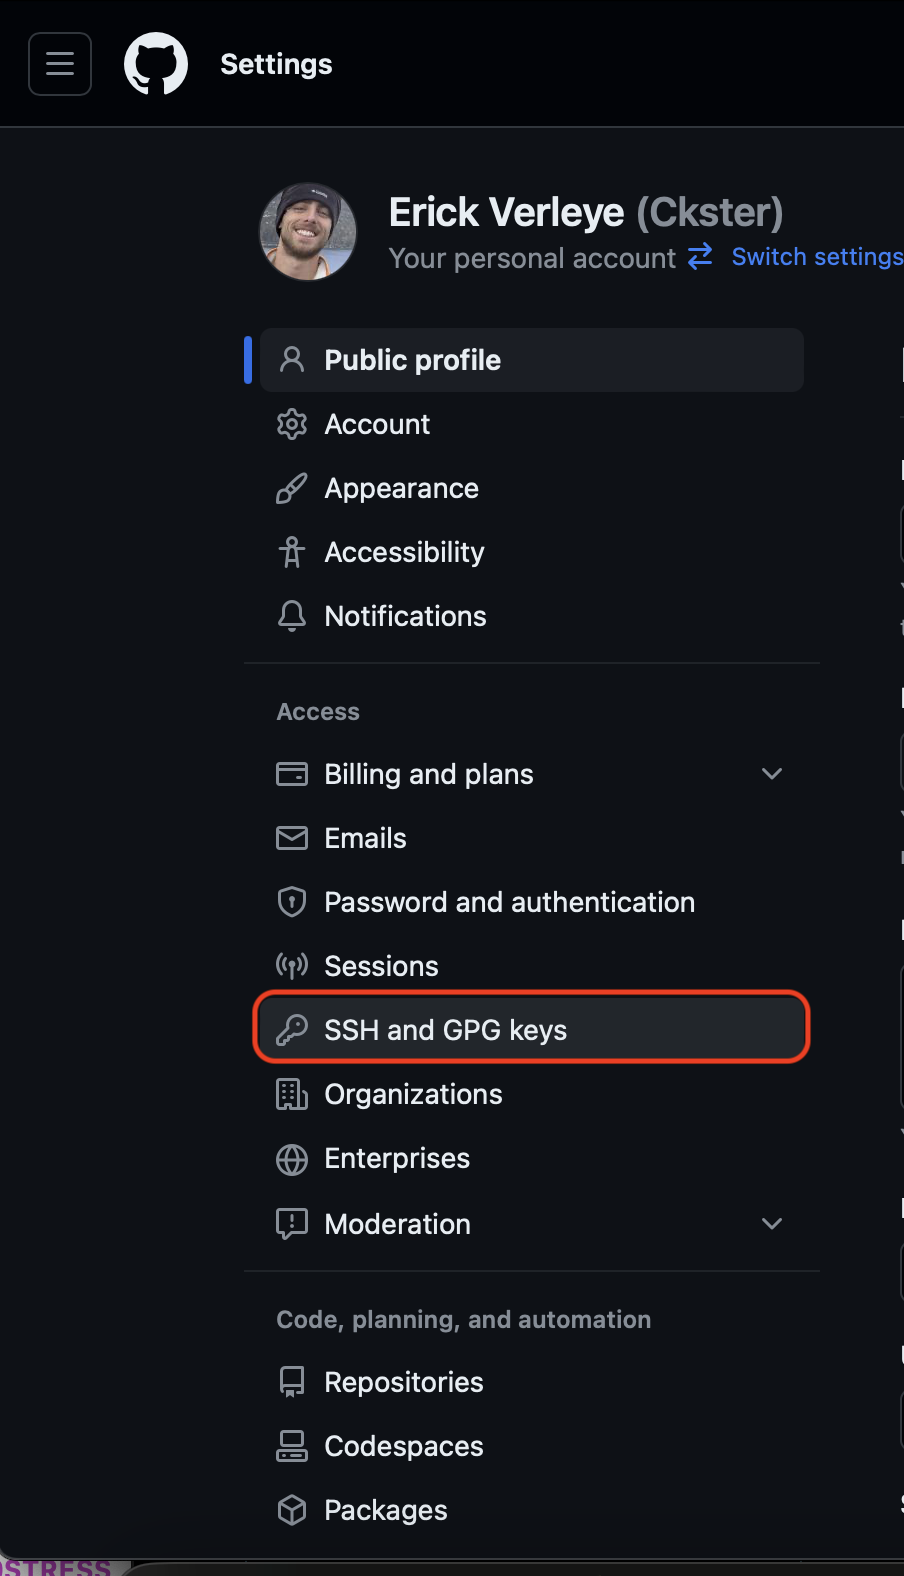
-
Click
New SSH key.
-
Give it a name, paste the full public key, and click
Add SSH Key.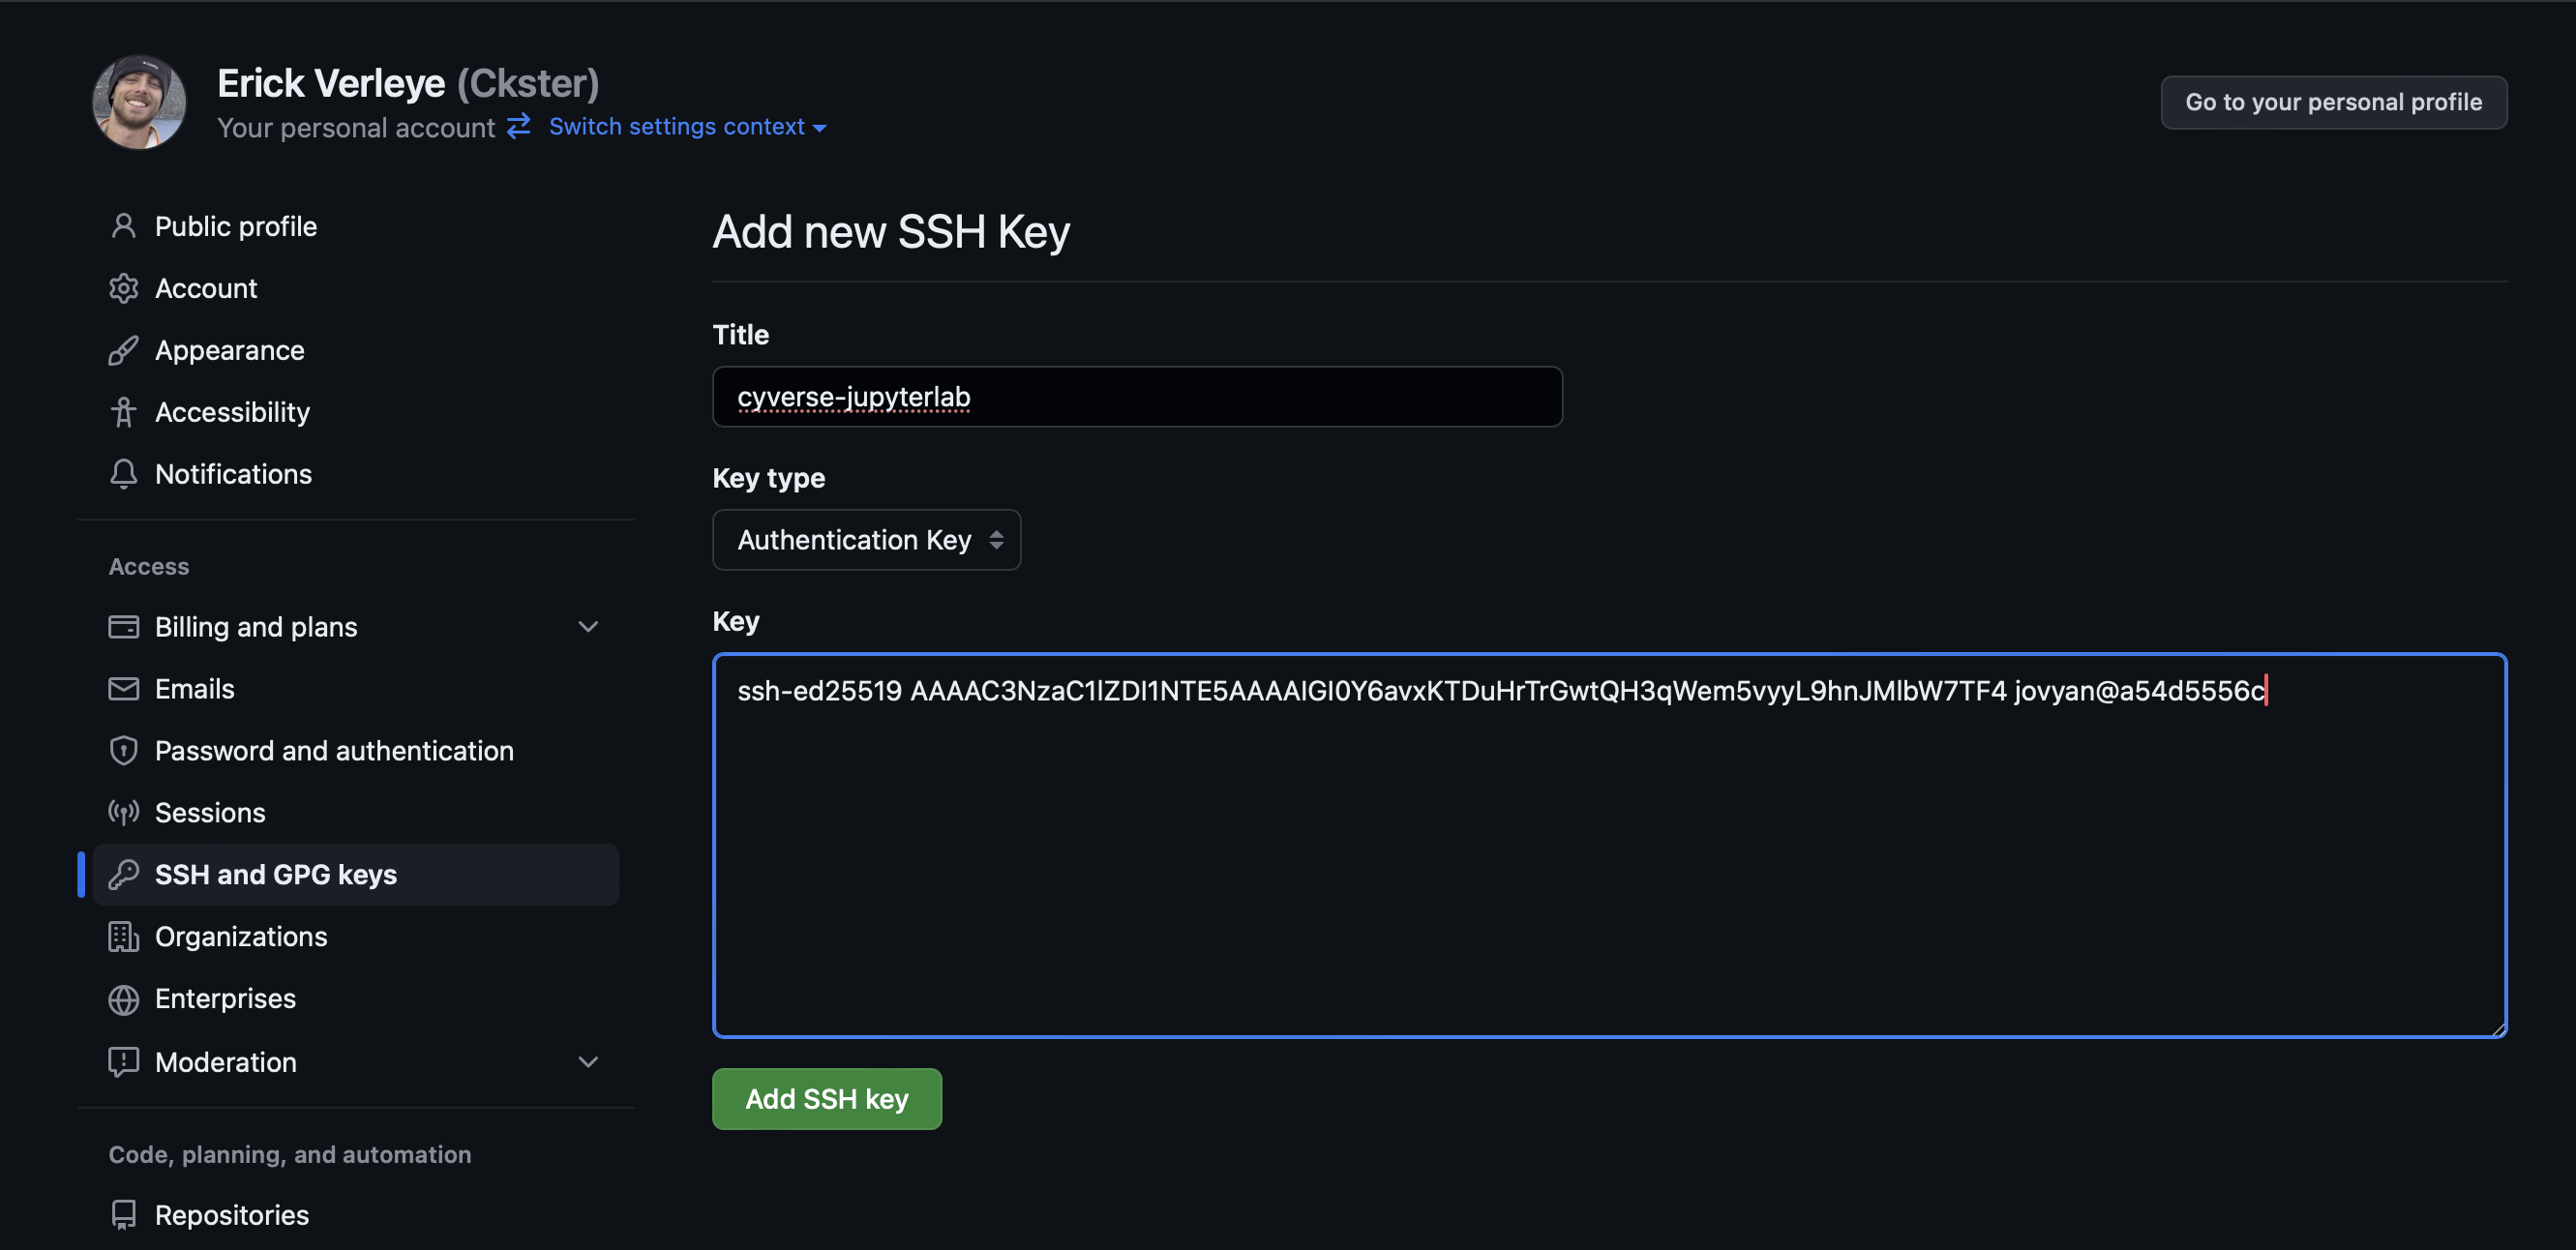
-
Your key will appear in the list. You can now clone private repos and push changes.
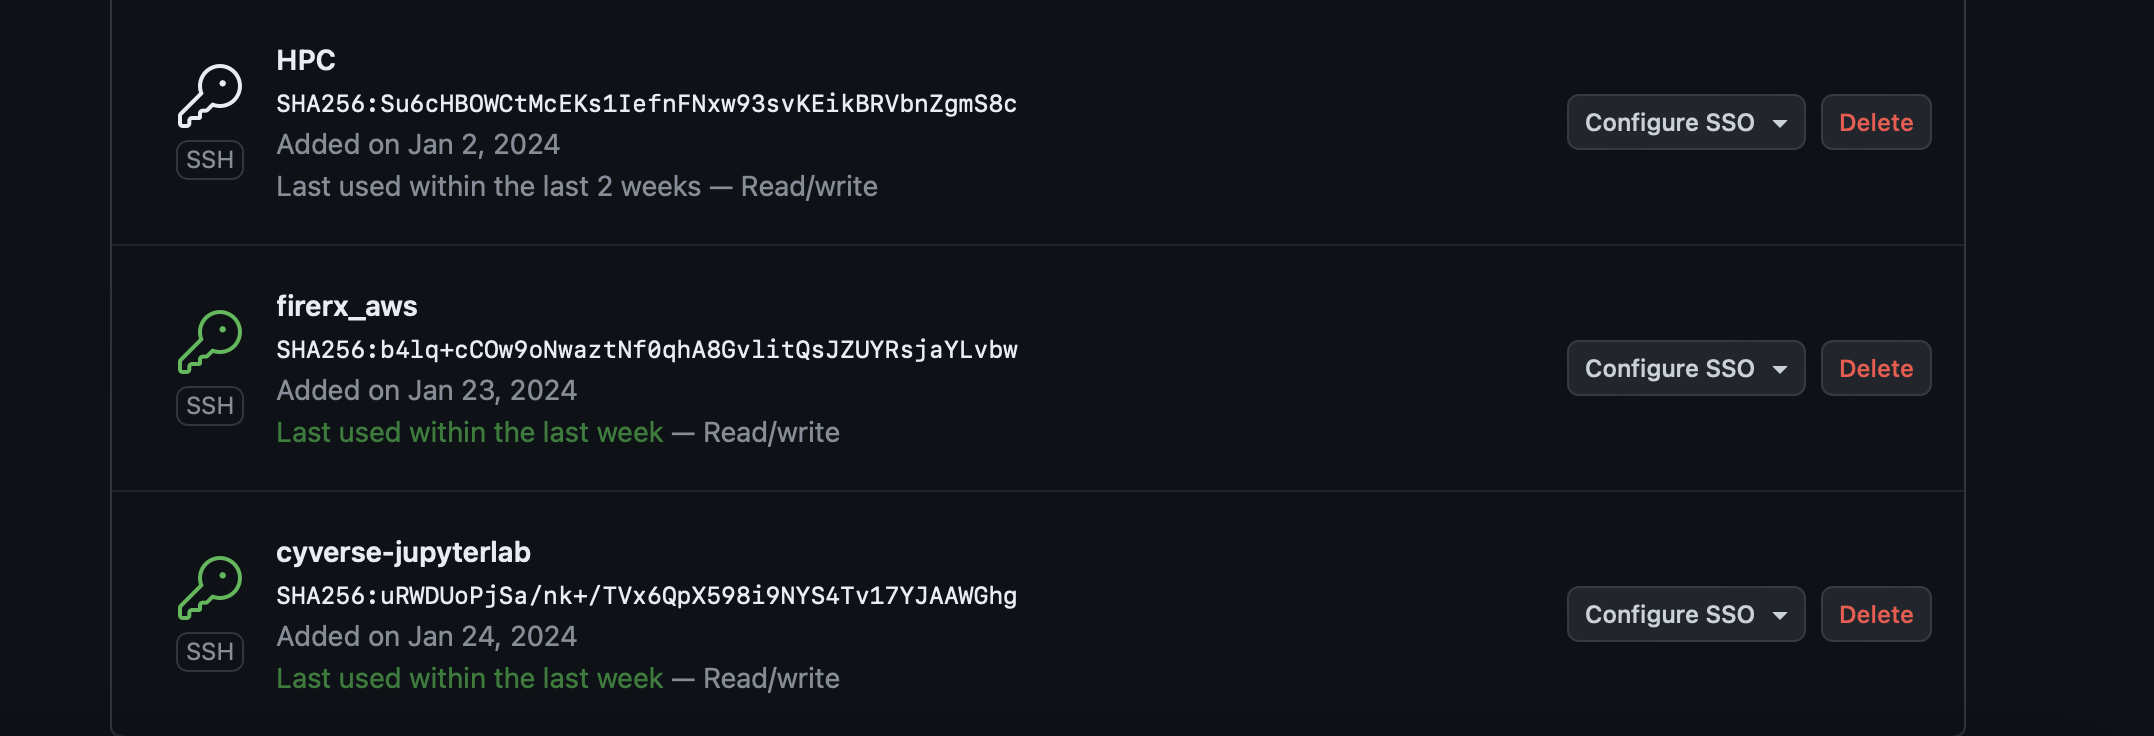
Note: This SSH key is tied to the current container. When you start a new CyVerse analysis, repeat this step. You can delete old keys from GitHub at any time.
Troubleshooting
EnvironmentNameNotFound: Could not find conda environment: unci-maka-py
The environment was not created or was lost when the container was recycled. Re-run Step 3 from the beginning.
Out-of-memory / segfault during mamba env create
Make sure you ran the thread-limiting commands in Step 3.2 before running mamba env create. If it still crashes, try:
mamba create -n unci-maka-py python=3.12 -y
conda activate unci-maka-py
mamba install --file environment.yml -y
CRSError: Invalid projection or pyproj unable to set PROJ database path
The PROJ environment variables are not being passed to the kernel. Re-run the ipykernel install command from Step 3.4 (which embeds the paths in the kernel spec), then restart the kernel.
If the error persists, add this as the very first cell in the notebook, before any other imports:
import os, sys
os.environ['PROJ_DATA'] = os.path.join(sys.prefix, 'share', 'proj')
os.environ['PROJ_LIB'] = os.path.join(sys.prefix, 'share', 'proj')
earthaccess login / NASA Earthdata errors
You need a free NASA Earthdata account at urs.earthdata.nasa.gov. When earthaccess.login() prompts for credentials, use your Earthdata username and password (not your GitHub credentials).
Kernel not appearing in the picker after install
Click the browser Refresh button (not just the JupyterLab reload). The kernel list is fetched on page load.